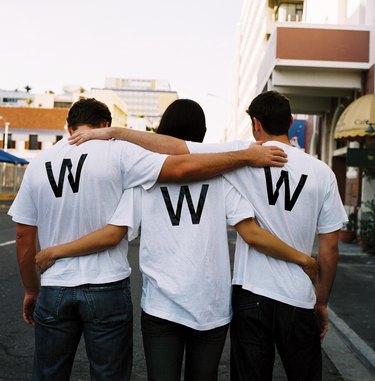
Iron-on heat transfer letters -- the kind you buy or you make yourself with an ink-jet printer and iron-on transfer paper -- require a hot, dry setting on the iron to adhere correctly. Trim the corners so they're round, to prevent peeling corners, wherever possible. Use a flat, hard, heat-resistant surface instead of an ironing board for the best results.
T-Shirt Prep
Video of the Day
Iron-on letter transfers work best on T-shirts made from 100 percent cotton, because they tend to peel on other fabrics. If you can't find a 100 percent cotton T-shirt, at least choose fabric that has more cotton than other materials for the best results. Wash and dry the T-shirt so you have a clean surface on which to work. Don't use fabric softener or softener sheets in the dryer. These add a chemical coating to the fabric, which can interfere with the transfer glue.
Hard Surface
Select a heat-resistant surface -- such as a wood cutting board -- that is hard and smooth, instead of the ironing board to iron the transfers onto the garment. Lay a sheet or pillowcase folded in half on top of the hard surface. Set the iron to the cotton setting and let it warm up for at least 8 minutes. Turn off the steam, because using steam prevents a complete seal. Press the shirt using the iron's cotton setting to remove wrinkles before you add the iron-on letter transfers.
Arrange the Letters
Set the garment on the flat surface. Align the shirt so that whatever letters you put on don't skew across its surface. Trim off excess edges or materials from the transfer letters, making rounded corners wherever possible. Set the letters on the T-shirt the way you want them to appear, lining up bottom edges with a long ruler to ensure the wording is straight. Lift off the backing and place the letter on the fabric with the imprinted image side up.
Iron the Transfer
Place a sheet of tissue paper, the paper that came with the letters or a single layer of cotton fabric over the letters you plan to iron. Iron the letters, working from the middle of each letter to the outside edges to avoid air bubbles. Iron one letter at a time, while applying firm pressure as you press the iron onto the fabric. Repeat the process for each letter. After ironing each letter firmly, run the iron over all the letters, paying particular attention to corners and edges to ensure they adhere firmly to the shirt.
Finish Work and Tips
Allow the garment to cool for at least 2 to 3 minutes, and then remove the tissue paper or cotton cover. If the letters came with an additional tissue paper cover, peel this away from the surfaces. After the garment has cooled, wash and dry it as you normally would to set the dyes in the letters.