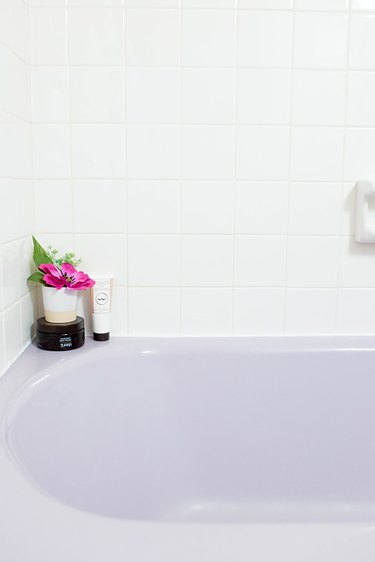
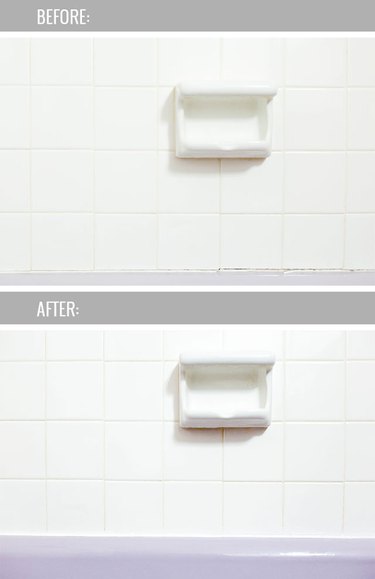
After removing your old, peeling caulk line, it's time to lay a brand new line of caulk into the gap left around your tub where it meets the wall or tub surround. This step-by-step tutorial shows you how to properly go about your next bathtub caulking project in order to ensure a watertight seal and pristine white finish.
Video of the Day
Things You'll Need
Alcohol-based cleaner
Paper towels
Painter's tape
Silicone tub-and-bath caulk in white or clear finish (your preference)
Wooden skewer (optional)
Utility knife
Caulk gun
Caulk-smoothing tool
Step 1: Clean the Gap Left by the Old Caulk Line
Thoroughly clean the gap above the tub where the old caulk was removed using an alcohol-based cleaner and paper towels. Allow the area to dry completely before moving on to Step 2.
Video of the Day

Step 2: Mask Off the New Caulk Line
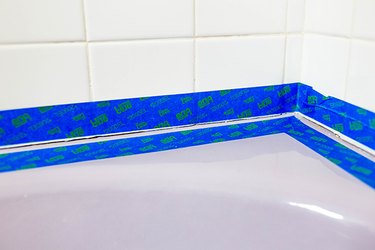
Use painter's tape to mask off where the new caulk line will go, both above and below the gap. You'll want to leave enough of a gap so that the new caulk line is able to touch both the tub's surface and the edge of the wall surface above. The specific measurements will depend on the gap between your particular tub and surround.
Step 3: Open the Caulking Tube
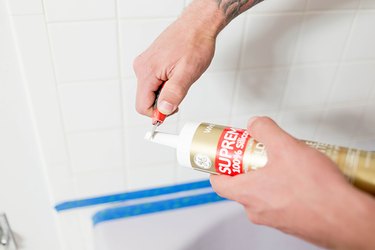
Use a utility knife to slice an angled 3/4-inch segment off the end of your caulk tube. If you need a thicker or a thinner caulk line, depending on the gap around your tub and surround, adjust the cut accordingly. Then, pierce the caulk tube through the opening by pushing either the metal rod on your caulk gun or a wooden skewer into the opened tip of the tube.
Step 4: Lay Down the New Caulk Line
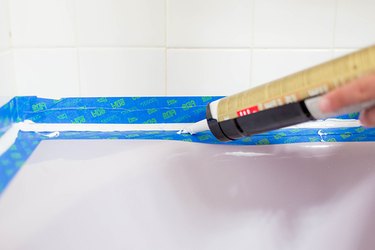
Gently squeeze a new line of caulk down in between the masked off area of the tub and surround. Moving the tube slowly and steadily along the gap will give you a relatively smooth line during the application. Make sure you apply enough caulk out of the tube to cover the gap completely.
Step 5: Smooth Out the Wet Caulk Line
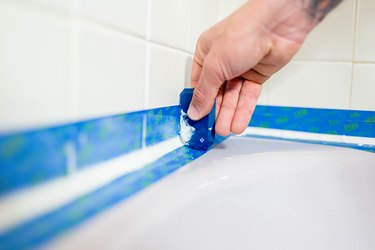
Drag a caulk-smoothing tool along the line of still-wet caulk to get a clean edge. You may need to periodically wipe off excess caulk that builds up on the smoothing tool, using a damp paper towel.
Tip
If you do not have a caulk-smoothing tool, a wooden craft stick or popsicle stick can also work, but don't use the oft-recommended method—your finger. Silicone caulks are messy and can irritate your skin.
Step 6: Allow the New Caulk Line to Dry Completely
When finished, immediately remove the masking tape and clean dirty tools using the specific recommendations that come with your tube of caulk. Allow the caulk to dry for at least 30 minutes—or for however long your specific tube of caulk recommends—before running water near the seal. In the end, fresh caulk provides a clean, watertight seal that looks great, too!
