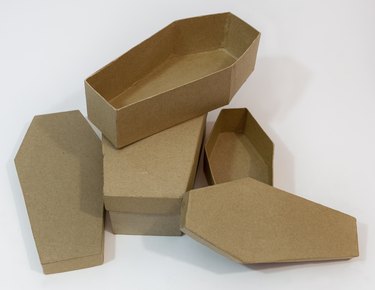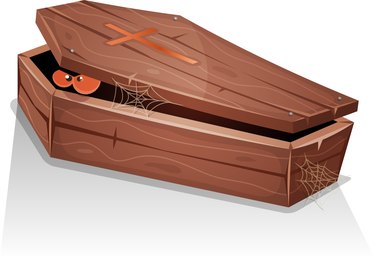
Cardboard coffins make great decorations for a Halloween party or haunted house, and they can also be useful as stage props for a play. The classic six-sided box shape is unmistakable, and its association with the dead makes a DIY coffin fittingly spooky for Halloween.
The shapes required for a life-size DIY coffin are quite simple, so measuring, cutting out and assembling the necessary pieces from cardboard is an achievable project. You just need to find large enough sheets of cardboard to keep visible joints to a minimum. Cardboard is ideal because it's cheap, lightweight but sturdy and easy to paint for a realistic look.
Video of the Day
Video of the Day
Things You'll Need
Use sturdy, corrugated cardboard for your coffin so that it can stand or be propped up without collapsing. If you don't want to purchase sheets of cardboard, break down large cardboard boxes into flat pieces. You will need to piece together enough cardboard pieces to make a solid flat back and sides and optionally a front side as well. Use a grown person's body as a rough guide for the size needed. You also need a similar amount of craft paper or newspaper to create a template, which is optional but makes the process easier.
You also need a yardstick or ruler and a pencil for measuring and marking the outlines for the coffin pieces. Find sturdy scissors and a utility knife or craft knife to cut out the cardboard. For joining the cardboard sheets together, find masking tape, packing tape or duct tape.
Create a Paper Template for a DIY Coffin
You can start with the cardboard for your DIY coffin, but the process is usually easier if you create a paper template first. Roll or lay out and tape together enough craft or newspaper sheets to form an 80- by 30-inch rectangle. The six-sided coffin shape is made up of two trapezoids: a smaller one at the top where the head would be and a larger, longer one at the bottom where the body would be inside the coffin.
With the yardstick or ruler and pencil, measure and draw the top trapezoid with its top edge measuring 20 inches, its bottom 30 inches, its depth – measured vertically from top to bottom edge – at 19.5 inches and its diagonal side edges measuring 20 inches. The longer bottom trapezoid has as its top edge the same 30-inch line marking the bottom of the upper trapezoid. Make its vertical depth 52 inches, its bottom edge 20 inches and its diagonal side edges 52.5 inches. Cut out the paper template.
Cut Out the Cardboard Coffin

If you don't have a single sheet of cardboard larger than the template, tape together individual sheets of cardboard to make a large enough piece. If you are concerned about the appearance or strength of the joints, there are ways to conceal and reinforce them later. Tape the paper template to the cardboard, trace around it with a pencil and cut the coffin shape out of the cardboard. If you want a front for your cardboard casket, cut a second identical shape from additional cardboard.
For the sides of the coffin, measure, mark and cut out four 15 by 20-inch rectangles, which will be the top side, upper trapezoid sides and bottom side of the coffin. Next, measure, mark and cut out two 15 by 52.5-inch rectangles. These are the sides of the bottom part of the coffin. Tape the side pieces to the back of the coffin. If your cardboard casket has a front piece, use tape to create a hinge connecting it at one bottom side section.
Cardboard Casket Decorating Ideas

Consider the taped-together cardboard casket as the basic form, which can be made to look really cool with various decorating options:
- Apply paper-mache all over the cardboard coffin. This is a good option for strengthening it as well as giving it texture.
- Paint the coffin using black or dark brown acrylic or spray paint.
- Line the coffin with a velvet or silk-type fabric.
- Place a plastic skeleton inside the DIY coffin.
- Arrange other Halloween decorations inside the coffin, such as cobwebs, spiders and bats.