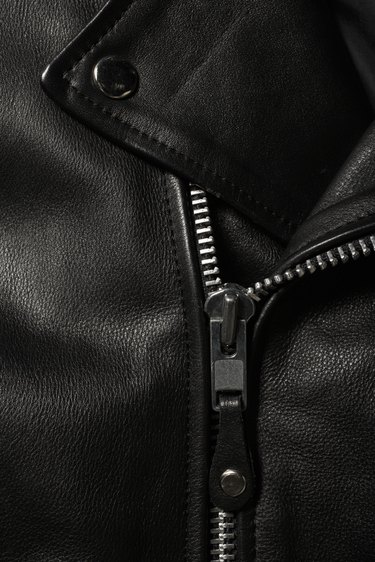
A good quality leather jacket in a timeless style can hold a place in your wardrobe for many years. And because leather jackets aren't cheap to replace, a tear in the fabric can be costly proposition. Leather tears can be repaired, however, so gather a few simple supplies and put your wallet away.
Things You'll Need
Needle
Cellophane tape
Small scissors
Seam ripper
Fabric
Fabric glue
Thread
Video of the Day
Step 1
Move the torn edges to their original location with the dull side of a needle.
Video of the Day
Step 2
Place a piece of cellophane tape on the tear to keep the edges of the tear flat. Try the tape on the inside of the jacket first to be sure that it will not damage the leather. If the tape is very sticky, press it on and off your fingers a few times to remove some of the stickiness.
Step 3
Turn the jacket inside out and find the location of the tear on the inside.
Step 4
Make a small slit in the lining if the jacket is lined. If the tear is near a seam in the lining, open the seam with a seam ripper.
Step 5
Cut a piece of fabric that matches your jacket. It should be slightly larger than the size of the tear. Put a thin layer of fabric glue on your piece of fabric. Place the fabric on the leather over the tear. Use pressure on the fabric to keep it in place until it sets. Let the glue dry completely for a few hours.
Step 6
Turn the jacket right side out and remove the cellophane tape. Open the tear with the dull edge of a needle. Add a small drop of fabric glue to the top of the fabric you put on the inside. Press the leather back down into place with the needle.
Step 7
Clean the area of any excess glue and let it dry for several hours.
Step 8
Stitch the lining back together on the inside.
Tip
Some dry cleaning establishments will repair leather if you would rather have your jacket fixed by a professional.