Things You'll Need
Measuring tape
Poster board
Pencil
Ruler
1 yard red felt
Chalk
Scissors
Sewing pins
Sewing machine
Red thread
White felt
1/8-inch white skinny elastic
White thread
Sewing needle
Cotton batting
Hot glue gun
Glue

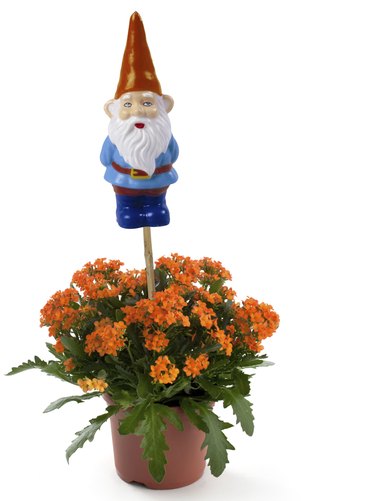
Don't just be an ordinary traveler on your next adventure – become a traveling gnome. Cross over to a magical place when you add a few handmade costume elements to wardrobe basics like trousers, a blue button shirt and your favorite suspenders. You will be ready to hit the town in style when sporting your hand-crafted garden gnome hat and your one-of-a-kind garden gnome beard.
Easy Gnome Hat
Step 1
Measure the circumference of your head across your forehead. Record the measurement.
Video of the Day
Step 2
Mark an X in the center of the poster board. Place the edge of your ruler across the center of the X, and draw a vertical straight line directly below the X that measures 13 inches. This is the center length of your gnome's hat. It may need to be lengthened depending on your hat width.
Step 3
Draw lines on each side of the X that create a 45-degree upside-down V shape. Extend the lines downward to the end of the poster board. These lines represent the seam of the hat, and will help you determine the right hat width.
Step 4
Determine your hat width. Measure across the upside-down V until you locate your approximate head circumference measurement plus 1 inch.
Step 5
Draw an upside-down arched line to connect the two outside lines. The pattern should now look something like an upside-down snow cone.
Step 6
Cut out the pattern and lay it on top of the felt. Pin it in place.
Step 7
Cut out the felt and fold it in half so that the long edges are touching. Sew the edges together with a 5/8-inch seam.
Step 8
Turn the hat right side out.
Easy Gnome Beard
Step 1
Cut a 5-inch oval from white felt to create a foundation piece for the beard and mustache.
Step 2
Fold the oval in half lengthwise and cut a small piece out of the center for the mouth.
Step 3
Measure your head from the sides of your mouth and around the back of your head. Cut a length of skinny elastic that is equal to that measurement.
Step 4
Create the basic mask. Sew one end of the elastic to the short edge of the white felt. Sew the other end of the elastic to the opposite side.
Step 5
Add a drop of hot glue over each sewed end and let it cool.
Step 6
Hot glue strips of cotton batting below the center mouth cutout. Layer the batting from the bottom of the felt base upwards for a natural-looking beard.
Step 7
Add the mustache batting after the beard section is completed. Allow the mustache to fall down the sides of the piece and onto the beard.
Video of the Day