When the evening air gets a bit brisk and vibrant leaves start to contrast the brilliant blue skies, you know autumn is here and it's time to start wrapping up again in your coziest sweatshirts. You could just grab a pullover hoodie, which would keep you plenty warm, but if you want to add some personal style to your sweatshirt, a zipper just might be the design element you've been looking for. With a zipper, you can open it up and layer it with your favorite T-shirts, wear it like a cardigan, or even use it as a light jacket. So this year, how about welcoming the cooler weather by putting a zipper into one of your comfortable hoodies.

Video of the Day
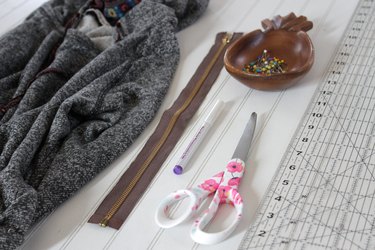
Things You'll Need
Pullover sweatshirt
Disappearing ink marking pen
Straight edge
Sharp scissors
Separating zipper the same length as the sweatshirt
Pins
Zipper foot
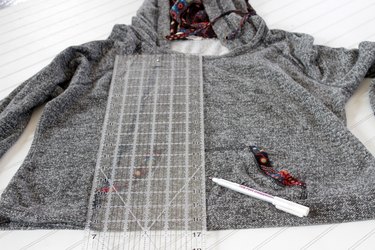
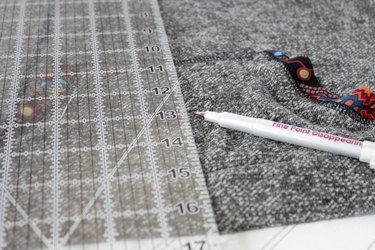
Step 1
Use a disappearing ink marker and a straight edge to mark a line up the center front of the sweatshirt.
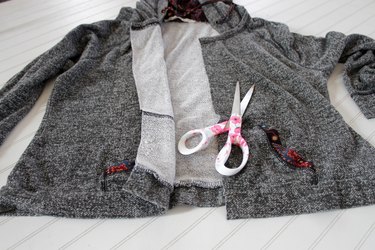
Step 2
Cut along the center front line with a sharp pair of scissors.
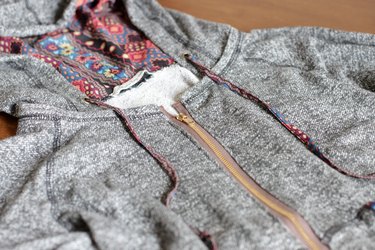
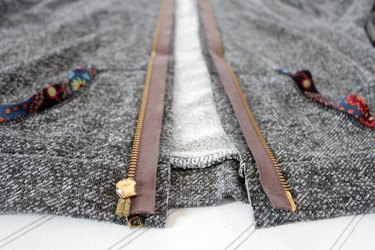
Step 3
Open the separating zipper to completely detach the two sides.

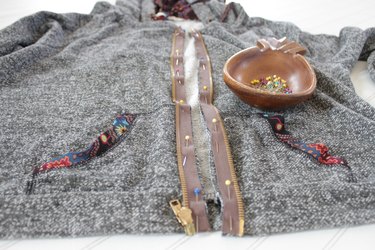
Step 4
Turn the zipper over so the right side of the zipper is facing the right side of the sweatshirt. Place the edge of the tape along the raw edge of the sweatshirt. The teeth of the zipper will be facing out.
Step 5
Pin the zipper in place.
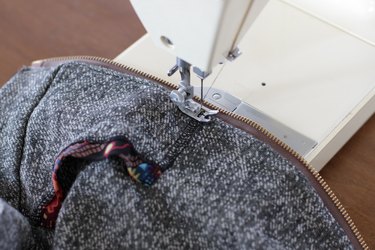
Step 6
Using a zipper foot, sew the zipper in place. Be sure to remove the pins as you sew.

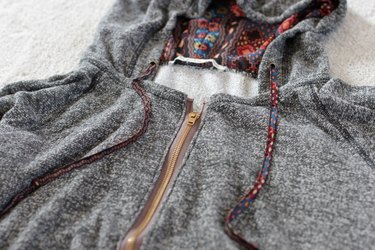
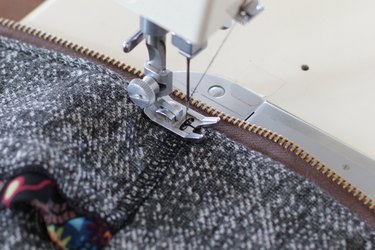
Step 7
Turn the tape of the zipper under so the teeth are now facing away from the sweatshirt. Topstitch close to the folded edge using a regular foot.
Step 8
All done!