Things You'll Need
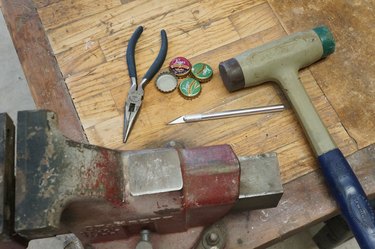
Rubber mallet
Solid striking surface
Bottle caps
Needle nose pliers
Hobby knife
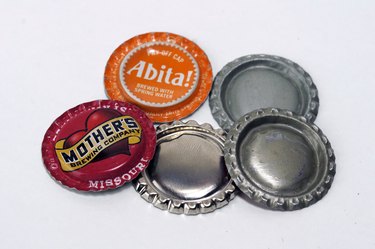
Flattened bottle caps add an upcycled flair to scrapbooking, jewelry and craft projects. Traditional caps (ones that require an opener) flatten out more easily than twist-off caps. Bottles from local breweries and imported beers are more likely to have traditional caps than widely distributed domestic brands. Pop the caps off carefully if you're going to flatten them.
Step 1
Flattening used caps takes a bit more work than the expensive unused ones in the craft stores, but if your goal is to reduce, reuse and recycle, it's worth the effort. Please see the last slide for an itemized list of tools and materials.
Video of the Day
Step 2
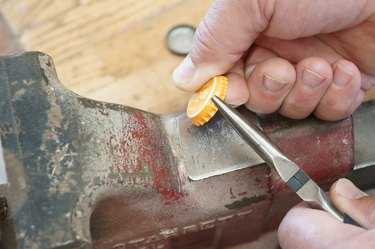
Carefully pry the crimped area out slightly with a pair of needle nose pliers. Work around the cap with the tips of the pliers in each fold.
Step 3
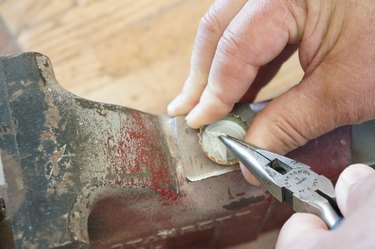
Peel the plastic seal out of the cap with a hobby knife and needle nose pliers. Heat it up with a blow dryer if it doesn't release easily or if you don't want to scratch the surface of the metal.
Step 4
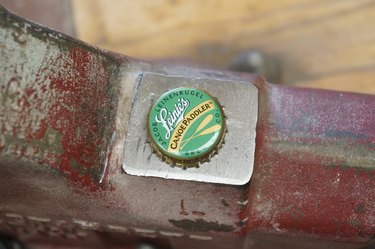
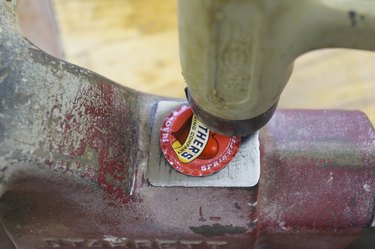
Place the cap on the striking surface; ideally this would be a small jeweler's block. Most shop vises have a small anvil section, as shown here. If you're just getting started, an old pizza pan or cookie sheet upside down on a scrap of 2-by-4 works, too.
Step 5
Gently tap the cap with your mallet, centering the blow just inside the rim of the cap. Tap two or three times, turn the cap a bit and repeat.
Step 6
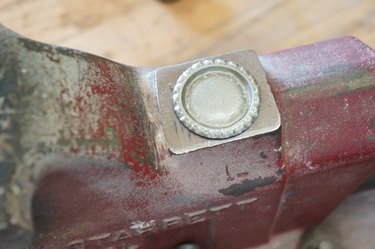
After a couple of circuits, your bottle cap will be flat. When you turn it over, you'll see that the rim resembles flower petals. It's ready to decorate and become part of your craft project!
Video of the Day
