Things You'll Need
Plywood-cutting blade
Painter's tape
Straightedge
Pencil
Zero-clearance tablesaw insert
Out-feed table
Saw guide

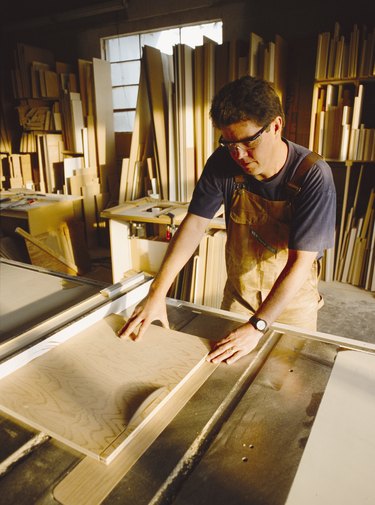
The veneer on oak plywood is usually very thin -- around 1/32 to 1/16 inch -- and it's prone to chipping or splintering when you cut it with most wood saws, such as a circular saw or table saw. The chipping is most pronounced when you cut across the grain and can be severe enough to require filling if you cut carelessly. Whether you're using the plywood to make a cabinet or a tabletop, edge chipping seriously detracts from the appearance of the piece. There is more than one technique to prevent it, and the best strategy is incorporate all of them into your cutting procedure.
Step 1
Fit your circular saw or table saw with a plywood-cutting blade. This isn't the type of blade that came with your saw. It has 80 or more teeth, and the teeth have steel -- not carbide -- tips. They make a smaller kerf, which is the amount of material the saw removes while cutting.
Video of the Day
Step 2
Lay painter's masking tape along both faces of the cut line in such a way that the blade cuts through it. Painter's tape is preferable to regular tan masking tape because it is easier to remove.
Step 3
Mark the cut-line on the back of the plywood with a straightedge and pencil when cutting with a circular saw, and make the cut from the back of the sheet, with the front side (good side) facing down. Most of the chipping will occur on the top side of the plywood, as the saw blade cuts up through the material. When using a table saw, feed the sheet through the saw with the front (good) side facing up. Table saw blades cut downward, so most chipping occurs on the bottom face of the panel.
Step 4
Fit your table saw with a zero-clearance inset to reduce the gap between the blade and the table. You can buy one of these at a hardware store or make one yourself. To make one, fashion a piece of 3/4-inch plywood that fits in the blade throat. Lower the blade, clamp the inset in place by stretching wood across both ends, turn on the saw and slowly raise the blade to cut through it.
Step 5
Support the plywood adequately. If you're cutting it with a circular saw, clamp it to a workbench and, if the off-cut is large, get a helper to prevent it from falling until the cut is complete. If you're using a table saw, set up an out-feed table -- preferably one that has rollers -- or get a helper.
Step 6
Set up a guide when cutting with a circular saw. Either use the guide that came with the saw -- if you're cutting close to the edge -- or clamp a straightedge to the workbench with C-clamps to guide the sole plate of the saw.
Step 7
Raise the blade until the top tooth is about 1 1/2 inches above the top of the plywood when cutting with a table saw. This ensures that the blade makes a nearly vertical cut instead of an angled one.
Tip
Cut with a sharp blade. Steel-tipped blades don't last as long as carbide-tipped ones and need to be replaced more frequently.
Warning
When you cut plywood with a circular saw, never support the off-cut on a bench or sawhorse. When you do this, the wood bends inward as you near the end of the cut and binds the saw, causing kickback.
Video of the Day