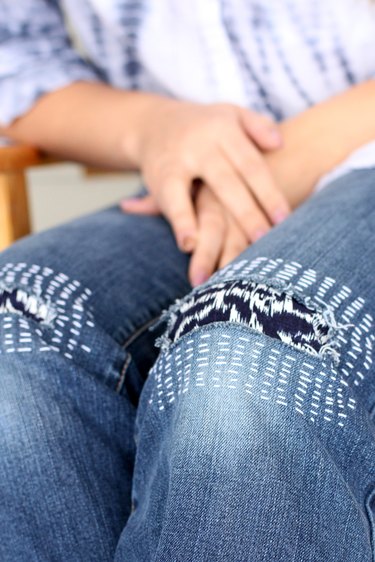
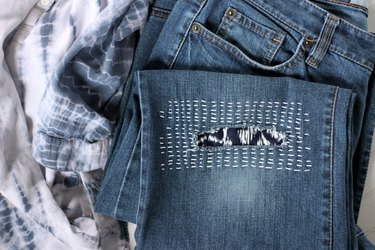
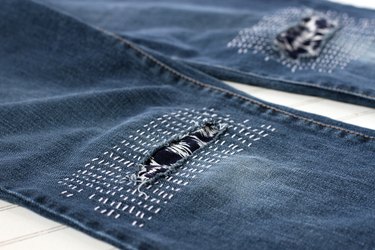
Does the thought of repairing a pair of ripped jeans stress you out? Well, we've got some good news for you! Make your mending a relaxing creative outlet with this Sashiko-inspired embroidery technique. Instead of going to the trouble of hiding your repairs to make your jeans look brand new again, embrace the creative possibility of showing those stitches to the world. Sashiko was originally used to mend old clothes in Japan and became an art form in it's own right. It's basically a simple running stitch used to create interesting patterns. So, turn up some good music, grab a fabric patch, and a needle and thread and get started.
Video of the Day
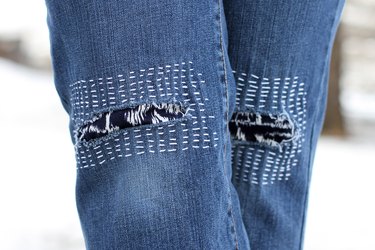
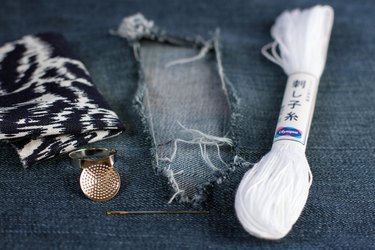
Things You'll Need
Sharp scissors
Fabric (at least 1 inch larger than hole)
Pins
Disappearing ink marker
Straight edge
Sashiko needle (Optional, a long needle will work)
Sashiko thread (Optional, embroidery floss can be substituted)
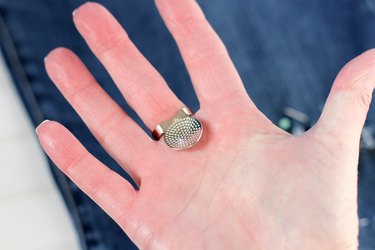
Knuckle ring thimble (Optional)
Step 1: Cut piece of fabric
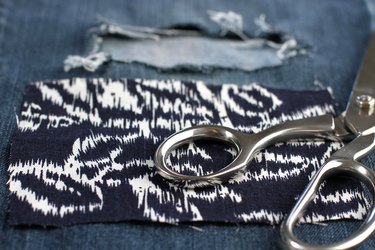
Cut a piece of coordinating fabric that is at least an inch larger on all sides than the hole you're repairing. Linens or a medium weight cotton will work well for this type of mending.
Step 2: Pin in place
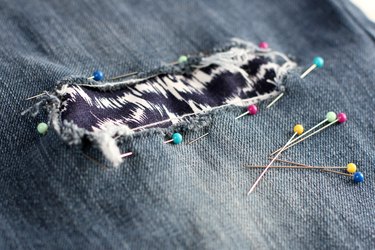
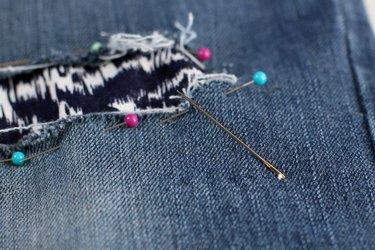
Place the fabric patch inside the leg of the jeans with the right side facing up. Attach the patch to the jeans with straight pins. Be sure to pin only through the layer that you're repairing.
Step 3: Draw a stitching line
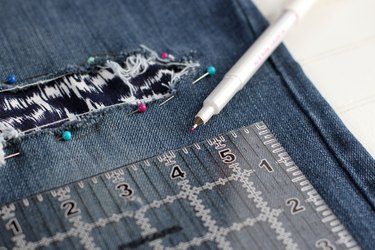
Draw a stitching line with a disappearing ink marker and a straight edge. This line will help keep your stitches straight as you sew.
Step 4: Thread needle
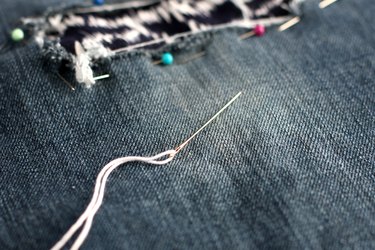
Thread your needle with about a yard of Sashiko thread or embroidery thread. If you don't have Sashiko thread, you can use regular embroidery thread, but Sashiko thread is a soft, strong matte cotton with a strong twist. Tie a small knot on the end of the thread. You can also use a regular needle, but make sure it's long and strong like a Sashiko needle.
Step 5: Insert needle
Run your hand up inside the leg of the jeans and insert the needle from the inside of the denim.
Step 6: Load needle with multiple stitches
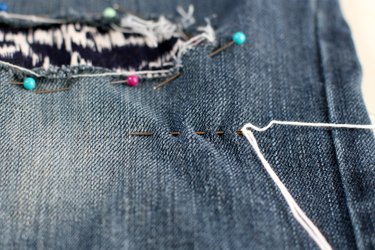
Pull the thread through the denim. Then load the needle with multiple stitches along the marked line in a pleating motion. Try to make your stitches as even as possible.
Step 7: Push the needle through
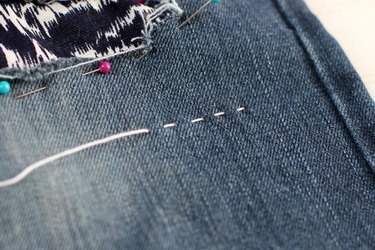
Once your needle is full, push the needle through the denim. Make sure the stitches are flat and aren't pulled too tight.
Step 8: Load needle with multiple stitches again
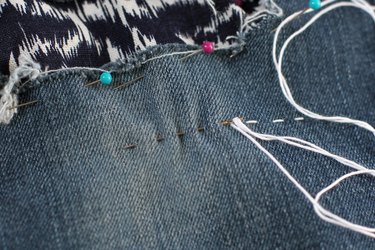
Load the needle with multiple stitches again and repeat the process by pushing the needle through until you get to the end of the line.
Tip
If the pads of your hands get sore from pushing the needle through, you might try using a knuckle ring thimble. Put the thimble on your middle finger with the thimble towards the palm of your hand. Press the top of the needle against the thimble as you guide the needle through the denim.
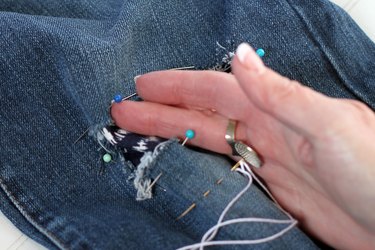
Step 9: Change stitch direction
When you get to the end of the stitching line, start a new row, stitching in the opposite direction. Continue to stitch this way until all sides of the patch is attached to the jeans. When you get to the end of the thread, tie a small knot and start a new thread.
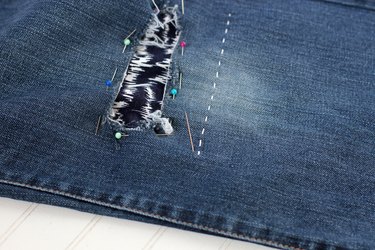
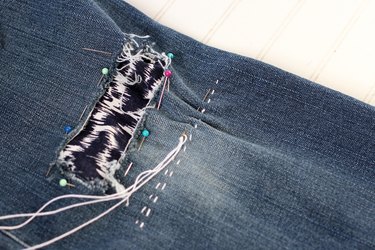
Step 10: Enjoy your jeans again
Mending your jeans using this Sashiko-inspired mending method will transform them into something new that you can treasure and be proud to wear.
