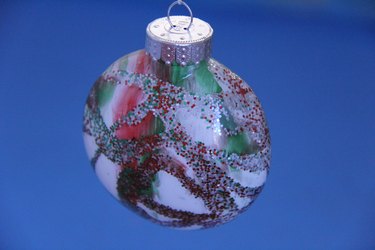
Using clear plastic (or glass) ball ornaments to decorate your Christmas tree is inexpensive. It allows almost every member of the family to be involved in the creativity of making tree decorations, as it is not a difficult process. You can choose a color theme by only using three colors, such as white, green and red. You can also use every color in your acrylic paint box and let family members go wild. Either way, each ornament is sure to be one-of-a-kind.
Video of the Day
Things You'll Need
Glitter
Clear Plastic Ornaments
Paper Cups
Craft Glue
Acrylic Paints
Step 1
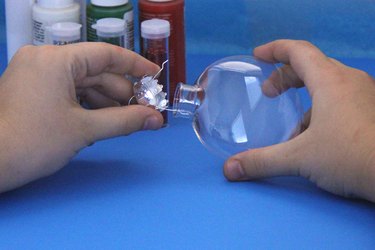
Remove the metal top and hanger from each ornament. Put them in a safe place so they can be replaced when the ornaments are completed.
Video of the Day
Step 2
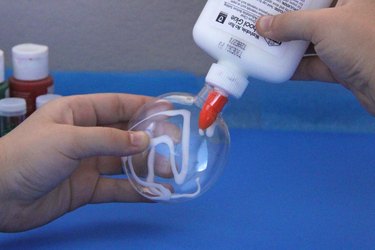
Squirt an all-purpose craft glue into the top of the clear ornament. It doesn't have to cover the entire inside, it can just be in stripe-type spurts. Make sure the glue is the type that will dry clear.
Step 3
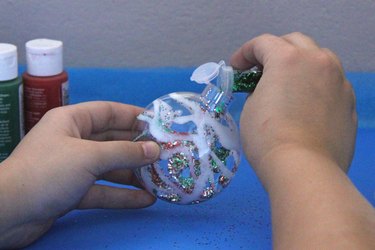
Drop glitter through the top of the ornament. It should stick to the glue. Let the ornament dry for a few minutes.
Step 4
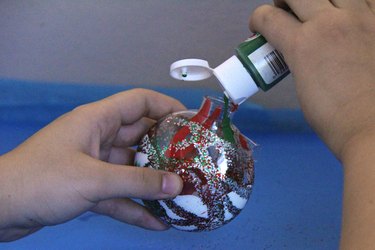
Squirt acrylic paint into the top. You may use one or more colors. Just remember if you fill the inside with one color, the second color won't show through. So, do a little of each color and move the ornament around, swirling, to fill in the clear spots.
Step 5

Drain the clear plastic ornaments of all the excess paint. To do this, turn them upside down into paper cups or other containers where the ornament will not touch the bottom. Let them stay in this position, draining and drying, overnight.
Step 6
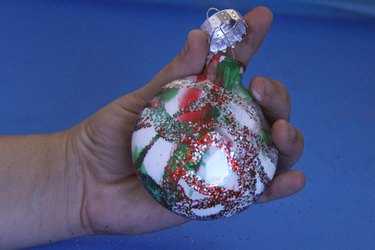
Place the metal top and hanger back on each ornament. Hang them on the Christmas tree or attach them to a wreath.
Tip
You can get all of the supplies needed for this project at a craft store.