Things You'll Need
Enough half-inch cement board to cover the shower floor
Tape measure
Razor knife
Carpenter's glue
1-inch drywall screws
Screw gun
Shower drain assembly
Drill
Hole-saw drill bit, the same size as the drain
Concrete mesh
Portand cement
Cement trowel
Wheelbarrow
Shovel
Level
Pencil
Plastic shower pan liner
Liner glue
Staple gun

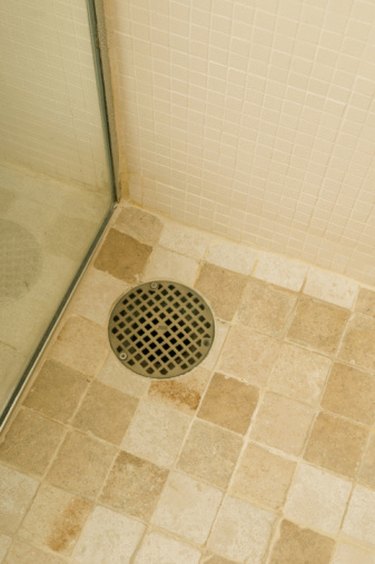
A built-in shower floor is actually two layers of sloped cement with a plastic liner between them. Building one is among the most complicated home-renovation jobs you can undertake. This is because shower floors (or "shower pans,'' as they're called) have to be constructed not only to divert surface water into the drain, but also to collect and divert any moisture that gets through the tile grout and into the substrate. Talk to your home-improvement store about getting the shower-pan materials you need.
Step 1
Use your hole saw to cut a drain hole into the center of the plywood subfloor of your framed-in shower stall. Cut a piece of cement board to cover the whole floor, scoring the lines for the cuts with a razor knife and then snapping it at the lines. Use the hole saw to cut the drain hole in the cement board. Install the cement board with carpenter's glue and drywall screws sunk every square foot or so. Set your drain assembly in place, letting it sit loose for now so that you can adjust it up and down.
Video of the Day
Step 2
Mix the cement in the wheelbarrow. Shovel it into the shower stall, working it with your trowel as you do. Make the cement about a half-inch deep around the drain assembly. To determine the proper slope, measure from the drain to each wall, and figure a quarter-inch of slope per foot of length. Example: If the wall is 3 feet from the drain, the cement should rise by 3/4 inches as it goes from the drain to the wall, starting at the half-inch depth around the drain, for a total height of 1-1/4 inches at the wall. Use your level and pencil to draw a line on the wall at that depth. Use your trowel to make the slope straight from the line on the wall to the drain on all sides.
Step 3
Lay your shower pan liner over the area, cutting it with your razor so that it comes up on the sides by about a foot. Cut out the hole for the drain in the middle. Use your liner glue to glue down the border around the drain. The liner should be just below the "weep holes'' in the side of the drain assembly that will collect any water that gets under the tile.
Step 4
Mix the cement for your top layer. Spread it down over the liner about a half-inch deep, following the slope that you created with the first layer. Get the cement smooth and set the drain flange into the surface of it so it sits about a quarter-inch above the surface (to accommodate the tile). Give the cement a day to set, then install your floor tile directly on the sloped cement surface.
Warning
Wear a particle mask when mixing your cement.
Video of the Day