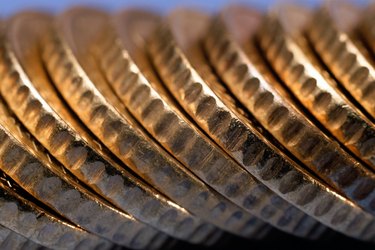
You don't have to be a precious metalsmith or work in a mint to create your own custom coins and medallions with real silver or gold. Using metal clay, a home crafting product designed for making small metal sculptures, you can create a coin or medallion using clay sculpting techniques. Customize coins in any design you like for jewelry, keepsakes or special play and film props.

Video of the Day
Things You'll Need
Low-Fire Kiln (For Gold Or Silver Clay) Or Small Butane Torch (For Silver Clay Only)
Cooking Oil
Gold Or Silver Metal Clay
Paper And Pencil Or Computer With Image Editor And Printer
Scissors
Nut Pick
Air-Dry Earthenware Clay
Small Dish Of Water
Fine-Toothed Comb
Toothpick Or Thick, Blunt Needle
Step 1
Create a life-sized paper drawing of your desired coin design. Hand draw or design on a computer and print a coin design exactly as you wish it to look with any images, lettering and numbers. Include the circular outline -- you can trace an existing coin to get this just right, or use a circle tool in an image editor.
Video of the Day
Step 2
Cut out your coin design with scissors. Leave a little space outside the circular outline.
Step 3
Make a mold for your coin in earthenware clay. Pull a lump of clay about the size of a ping-pong ball and soften it in your hands. Flatten one edge against a smooth work surface, then place your coin drawing on this flat area. Use the nut pick to create a shallow impression of the image in the clay by pressing and tracing through the paper. Include the circular outline. Use the toothpick or needle to make impressions of letters, numbers and any fine lines.
Step 4
Let the earthenware clay dry fully. This will take a couple hours and be complete when the clay is hard and dry to the touch.
Step 5
Coat the new mold with a fine layer of cooking oil by coating your finger in oil and rubbing it on. This will keep your coin from sticking to the mold.
Step 6
Hand-condition a piece of metal clay. Work it in your hands to soften it, and add a few drops of water if the clay is dry or crumbly. Continue to do this as needed if the clay dries out while you're working with it.
Step 7
Make a disc shape from the metal clay. Roll the clay into a ball, then press it against your work surface. Flatten one side, then flip it over and flatten the other.
Step 8
Push one side of the disc shape against your earthenware mold. Gently press over the entire back of the disc with your thumb to ensure that every part of the clay gets an impression.
Step 9
Peel the coin away from the mold.
Step 10
Trim any excess metal clay away from the edges of the circular outline using scissors.
Step 11
Create ridges on the edge of the coin, if desired. Roll the edge of the coin against the side of the bristles of your fine-toothed comb.
Step 12
Make a hole for a hanging, if desired, using the toothpick or needle.
Step 13
Let the coin dry fully. This will take as much time as the earthenware clay.
Step 14
Fire and brush the metal clay according to the manufacturer's instructions.
Tip
Keep your metal clay working tools wet in order to help them shape the clay while leaving its surface smooth.
To make a double-sided coin, make two clay molds, mold the top side, then let the metal clay dry face-up before forming the second side. This way, the first side will harden enough to keep its shape when you press the coin to form the tail side.
Warning
Carefully follow the clay manufacturer's instruction and heed any safety warnings when firing the coins.