Things You'll Need
Popsicle sticks
Glue
Paper clip
Tape
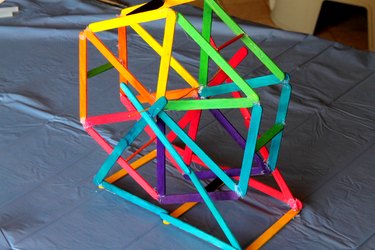
After a hot summer you may find that your family can collect quite a few Popsicle sticks. Instead of throwing them away, why not reuse them to build a model Ferris Wheel that really spins.
You will need at least 50 Popsicle sticks to complete this project so you may want to top up your own collection with sticks from a craft store. For a brighter, more vibrant Ferris Wheel, the sticks should be painted before constructing your wheel.
Video of the Day
This project is suitable for older children, as the final product can be delicate.
Video of the Day
Step 1
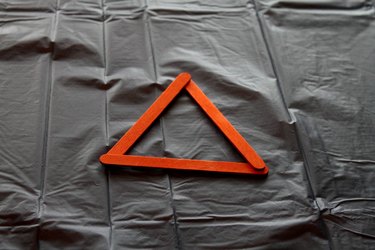
Arrange three Popsicle sticks (or six for a larger wheel, two to a side) into a triangle.
Step 2
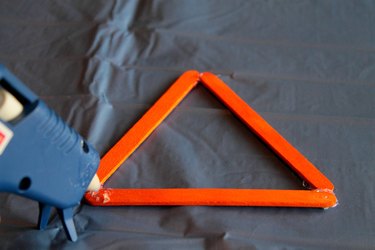
Glue the ends of each Popsicle stick together, securing the three points of your triangle, and allow time to dry.
Step 3
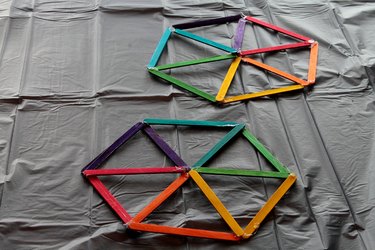
Attach two more sticks to the first triangle. The two new sticks need to be glued to the corners of one side of the triangle. Two more sticks are glued to that triangle. Each new triangle should share a side with the previous triangle.
Leave a gap at the center of your wheel, where the spokes meet up.
Continue until your triangles meet up with the other side of the first triangle and you have created a wheel. Make a second wheel in the same manner.
Step 4
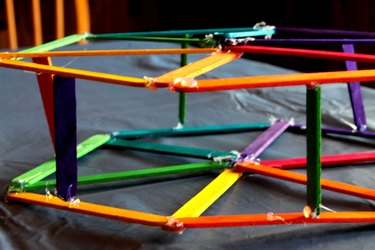
Break Popsicle sticks in half and attach them to the two wheels as cross bars.
You will need to break half the number of Popsicle sticks as you have sides to your wheels as these sticks are to be spaced evenly in the same intervals as your triangles. For example, if your wheels have six sides, you will need three Popsicle sticks for this step.
Step 5
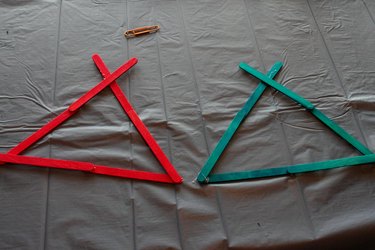
Construct two large triangles for the base. Use at least one more stick per triangle side than you used for your wheels. Allow one corner of these triangles to meet further down from the tip of the Popsicle sticks, creating an "X" at the top.
Step 6
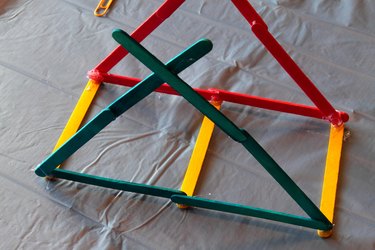
Attach your two base triangles together by gluing two sticks to the insides of the bottom two corners of both triangles and two more to the outside sides, about halfway down from the top intersection. You want these braces to be far enough down so they won't get in the way of the wheel itself.
Step 7
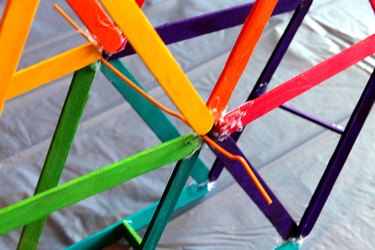
Unfold the paper clip, place it through the two wheels and rest the paper clip's ends in the crook of the base triangles.
Tip
If you are using school glue, place tape around the glued points so you can continue with the project without waiting for the glue to dry completely. The tape can then be carefully removed at a later time.
Warning
A hot glue gun will speed up the drying process , but if you are doing this project with small children, you may want to use non-toxic school glue instead. Hot glue guns can be dangerous.