Things You'll Need
Shoe box
Scissors
5 identical beads
Hot glue
String
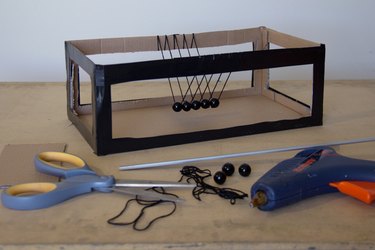
Building a Newton's Cradle, also called a Newtonian Demonstrator, is a simple project, whether it's for a gift, a presentation or an explanation of the conservation of momentum and energy. Requiring only a few minutes' work, your Newtonian Demonstrator can be as simple or as decorative as you want. Although Newton's Cradles are most commonly used as novelty items, their function as a scientific demonstrator of physics has not been diminished by time.
Step 1
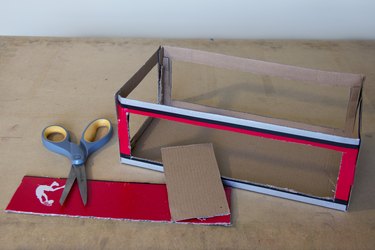
Cut out rectangles from all four the sides of your shoebox. Leave about two inches of space around the top and sides so that you can attach your string to the Newton's Cradle.
Video of the Day
Step 2
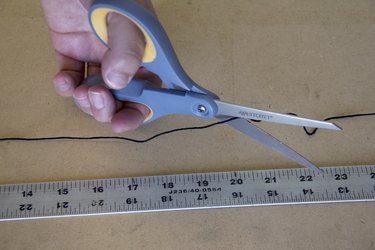
Measure out about 20 inches of string for each bead. Your Newton's Cradle will vary in size, depending on how large the shoe box is, so cut a piece of string that is long enough to allow you to adjust it before gluing it to the box.
Step 3
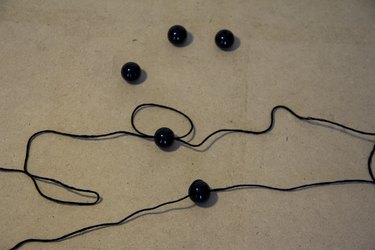
Thread a piece of string through each bead; loop the string back through so that the bead is held firmly in the middle of the string.
Step 4
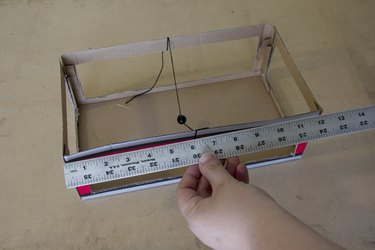
Measure the length of the shoe box used for your Newton's Cradle and hang one bead across the width at the center, attaching the ends of the string to opposite sides of the top of the shoebox. Measure the width of each bead and mark that width two times on each side of the center bead's string ends.
Step 5
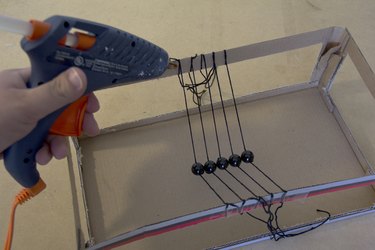
Attach the remaining beads to the Newton's Cradle so that all five beads sit in a straight line at the same height and are touching one another. Hot glue the strings to the box so that they will not shift from where you attached them.
Tip
To make your Newton's Cradle more attractive, you can paint or decorate the shoe box before attaching the beads. Using brightly colored beads will also make a Newtonian Demonstrator more vivid.
Video of the Day