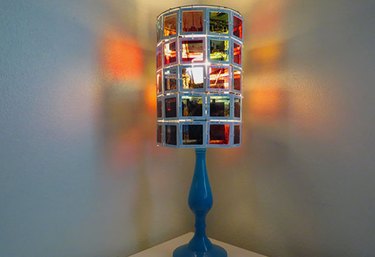
Create an illuminating lampshade with vintage 35mm slides. Whether you have old photos from your own childhood or found a box at a thrift store, this DIY is a beautiful way to display a piece of the past.
Things You'll Need
Video of the Day
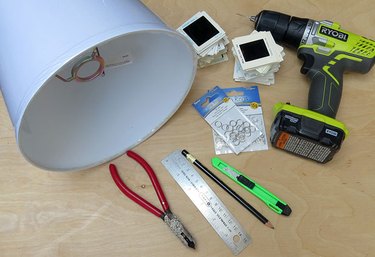
- Lampshade
- 35mm slides
- 8mm jump rings
- 10mm jump rings
- Drill
- Pliers
- Utility knife
- Ruler
- Pencil
Video of the Day
Note: The number of slides you'll need will depend on the size of your lamp shade. For this project, the shade is 7 inches wide and 55 slides were used.
Step 1: Remove Outer Shell from the Lampshade
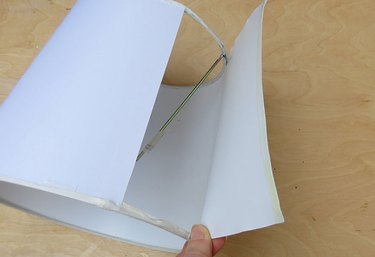
Remove the lampshade's outer shell by tearing it off the metal frame. If it's tough to remove, use a utility knife to carefully cut away. Most shades have two metal pieces -- one cone and one ring. You'll only need the cone for this project.
Step 2: Measure and Mark the Slides
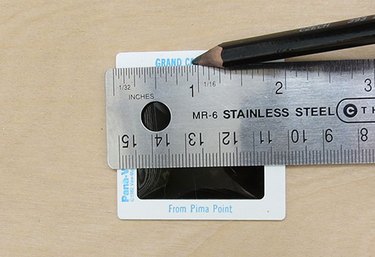
Each of the slides, except those that you'll use for the bottom row, will need four holes drilled. Make markings on the slides where you plan to drill. You will need markings at the center point of each side of the frame. For the bottom row, only make marks on the top and sides -- for three holes total. You don't need a hole in the bottom for the bottom row.
Step 3: Drill the Holes
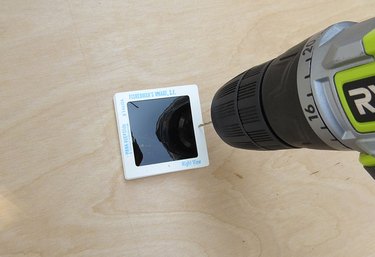
Using a 1/16-inch bit, drill the holes into the slides.
Step 4: Make Rows of Slides
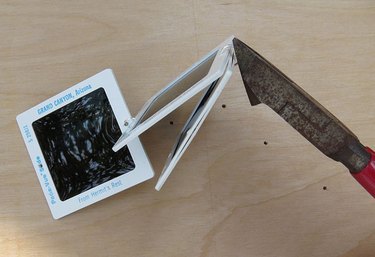
Make rows of slides by connecting them together with 8mm jump rings.
Step 5: Wrap Slides Around Frame
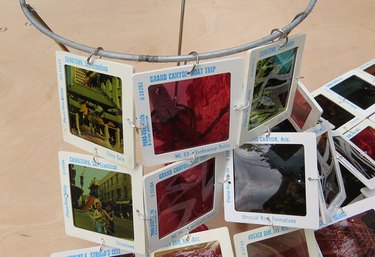
Keep building onto each row of slides until you have a large enough sheet to wrap around the metal lampshade frame. The width and length will vary depending on the size of your shade. Connect the top of the slide sheet to the lamp shade's metal ring using 10mm jump rings.
Step 6: Close Gap with Jump Rings
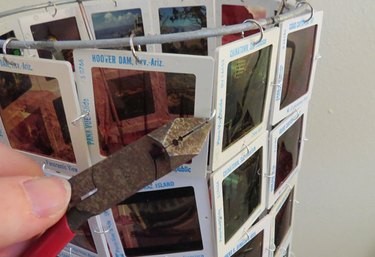
Once the slides are attached and hanging from the metal frame, close the gaps by tightening the 8mm jump rings.