Things You'll Need
Screwdriver
Drill
Deck screws
Metal file
Wood shims
New lock (optional)
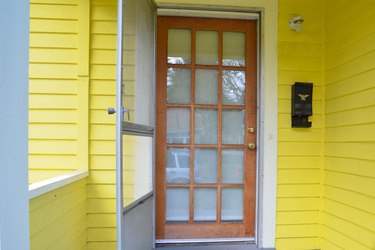
The doors in our homes are often subject to high levels of traffic and abuse. In addition to this heavy use, these doors must also withstand exterior elements like wind, rain and sunlight. It's no wonder then that exterior doors tend to require regular maintenance to keep them functioning as intended. One of the most common problems homeowners will face with an exterior door is the inability to keep the door tightly shut. This occurs when hardware gets loose or worn out over time. Fortunately, this problem is relatively easy to fix for most DIY homeowners. Within a few hours, you can have your door shutting tightly again using simple tools and techniques.
Tighten the Hinges
Step 1
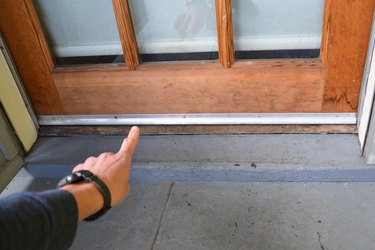
Examine the base of your door. The No. 1 reason that doors fail to shut tightly is that the hinges loosen over time, causing the door to sag. When this happens you'll likely see that the bottom of the door is lower along the lock side than the hinge side. If this is the case, use wood shims or some other flat object to prop up the bottom of the door as you work to resolve the problem.
Video of the Day
Step 2
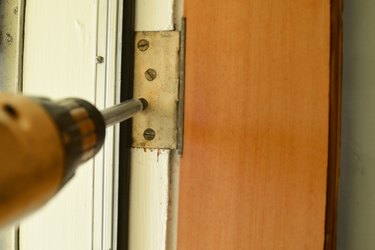
Tighten the screws on the hinges using a screwdriver. Start at the top hinge, which tends to bear the heaviest load of the three. Tighten all the screws in both leaves of this hinge. Add screws to any empty holes you see. Once you're finished, check the door to see if this has resolved your problem. If it has not, proceed to Step 3.
Step 3
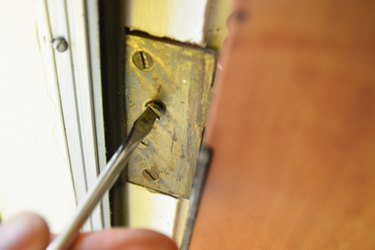
Check the screws in the middle and bottom hinges and tighten them as you did the top hinge. Add screws as needed to fill empty holes.
Step 4
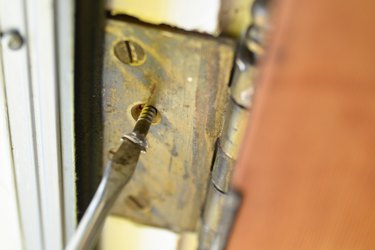
Repair stripped screws by replacing them with longer deck screws. If you are trying to tighten the hinge screws and they just keep spinning in the hole, they are likely stripped. Remove them and replace them with screws that are long enough to pass through the door frame into the framing on the other side. You'll likely need screws between two and three inches wide for this purpose.
Check the Lock
Step 1
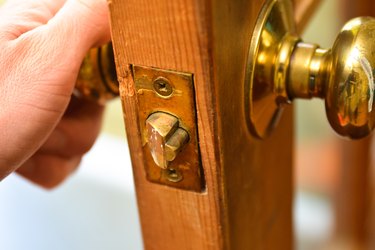
Open your door and examine the latch bolt. Turn the door knob or lever a few times and see whether the latch seems to stick inside of its casing. If the latch is not functioning properly, this could prevent it from reaching the lock strike on the frame. In this case, the easiest solution is to replace the lock with a new unit of the same size and style. Remove the set screw at the base of the inside knob, then slowly pull the two sides of the lock apart. Use the instructions that come with your new lock to help you install it.
Step 2
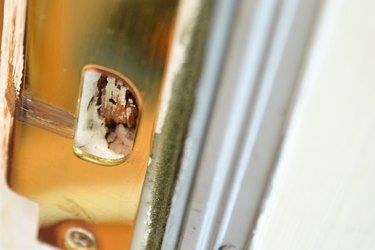
Examine the lock strike. If it appears the latch is functioning properly, check to see whether the latch is lined up properly with the strike plate. If the latch is hitting the hole in the strike along the top or bottom edge, use a metal file to widen the hole along that edge. This will create more room for the latch to fit into the strike, allowing the door to close and latch successfully.
Step 3
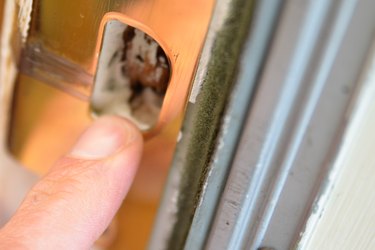
Check to see if the latch bolt is too far away from the strike. If your door is slightly too small for the frame, the latch may not reach the strike, which will prevent it from shutting tightly. If this is the case, remove the strike and insert wooden shims behind it to bring it closer to the latch on the edge of the door. When you reinstall it, be sure that the screws are long enough to go through all of the shims you used while still penetrating the door frame.
Step 4
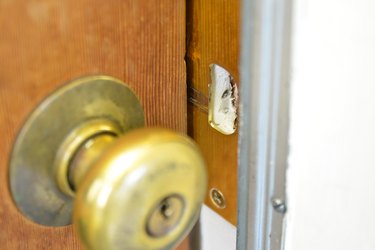
Consider whether the latch is hitting in front or behind the hole in the strike. If this is the case, move the strike forward or back to line up with the latch.
Video of the Day