Things You'll Need
Safety glasses
Utility gloves
Drop cloths
Utility knife
Pry bar
Hammer
6-inch razor blade

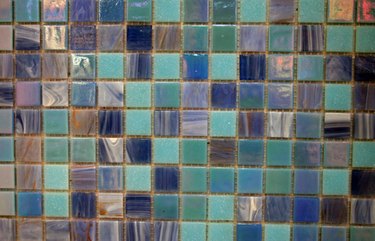
Glass tiles, with their beauty and light-reflecting qualities, are a popular component of many home designs. When it comes time to remodel a room, however, it's important to remove any old surfaces before installing new ones. This includes removing any old glass tiles that have been installed in areas such as bathroom walls and kitchen backsplashes.
Step 1
Cover adjacent areas with drop cloths to protect them from debris and glass dust. Wear safety glasses and gloves to protect from shards of glass during the tile removal.
Video of the Day
Step 2
Cut any caulk joints with the utility knife. Caulk will be used with glass tiles in any 90-degree angle, such as corners, or where a counter and backsplash meet.
Step 3
Place the utility knife into a joint between two tiles at a 45-degree angle, pointing away from your body. Hit the top of the utility knife with a hammer as gently as possible to break the glass tile and its mortar away from the wall. Glass tile uses very little mortar to adhere to walls--only a latex modified thin set--and so excessive force shouldn't be necessary.
Step 4
Place the end of the pry bar into the gap made by the removal of one or two tiles. Try to get the pry bar underneath the tiles to be removed, and apply pressure by pushing down on the end of the bar to pop the tiles free.
Step 5
Remove stubborn tiles by inserting the end of the utility knife behind the tile and hitting it with the hammer.
Step 6
Scrap any remaining mortar from the walls with the 6-inch razor blade to prepare the surface for fresh tiles.
Tip
Depending on the surface underneath the tiles, as well as the amount of mortar, it may not be possible to save the walls behind the tile. If this is the case, you can use more force to remove the tiles, but keep in mind that this can result in a great deal of broken glass, as well.
Video of the Day