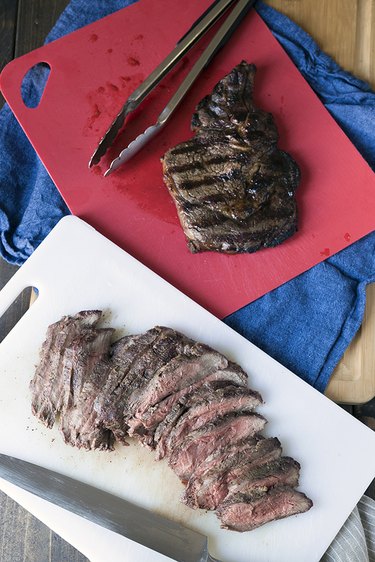
When the weather is nice, there's nothing better than grilling outdoors. Grilled steak is especially wonderful since there's no way to capture the smokey flavor of a grill when cooking meat indoors. While charcoal grills have certain benefits, gas grills are great because you get a lot of control over the heat, and they're easy to clean. Many different cuts of meat work well on the grill, and they range from cheap cuts to pricier steaks. Let's examine how to cook cuts from each end of the price spectrum: a flat iron steak and a bone-in ribeye.
Video of the Day
Tip
Boneless ribeye steaks are fine for grilling as well. It's a personal preference. Cooking meat on the bone will yield more flavorful and juicy results.
Things You'll Need
Gas grill
2 pound flat iron steak or 2 to 4 1-1/4 to 1-1/2-inch thick bone-in ribeye steaks
High heat oil for grilling (such as regular olive oil or canola) or clarified butter
Kosher salt
Ground black pepper
Heat-resistant tongs
Cutting board
Chef's knife or slicer
Optional: pastry brush
Optional: digital probe thermometer
Step 1: Gather your Ingredients and Tool
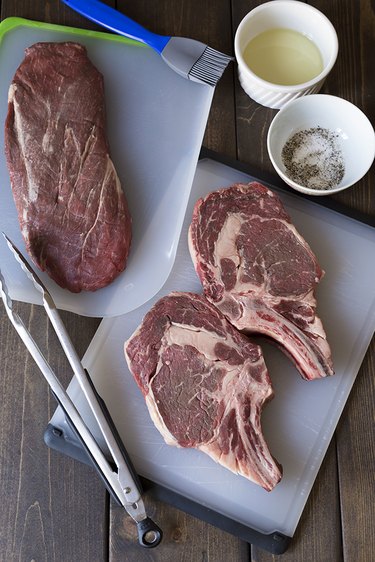
You want to bring the meat to room temperature before grilling for a minimum of 20 minutes, preferably 45 minutes. My favorite high heat oil for grilling actually isn't an oil at all; it's clarified butter (also known as ghee), which is often sold at the grocery store in the international aisle. It adds a nice flavor and richness to the meat, however it's pricier than most high heat oils. Other options are regular olive oil (not extra virgin), canola oil, or vegetable oil. Preheat the grill to high at least 10 to 15 minutes before cooking.
Video of the Day
Step 2: Oil the Meat
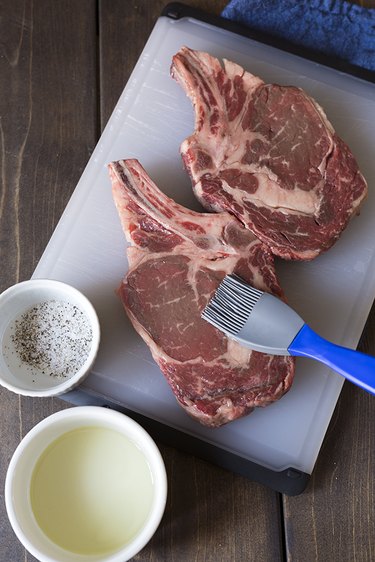
Many recipes suggest oiling the grill, but I recommend brushing oil or clarified butter directly onto the meat itself, regardless of which cut you are grilling. This will help the salt and pepper adhere better. It's also easier and safer, in my opinion. You can use a pastry brush or clean hands. Since the seasoning comes next, a pastry brush makes things a bit less messy.
Step 3: Season the Meat
You want to season steak very liberally with salt and pepper before grilling. Some chefs recommend doing this hours or even a day in advance, because salt draws out liquids and helps create a better sear. I season immediately before grilling because I want to meat to retain as much natural juice as possible. Regardless, generous seasoning will help improve the sear, especially if you use a coarse salt and pepper. That creates a nice, crunchy layer. At this point you could also add additional seasonings or steak rubs, but keep in mind that many spices will get lost under a good char.
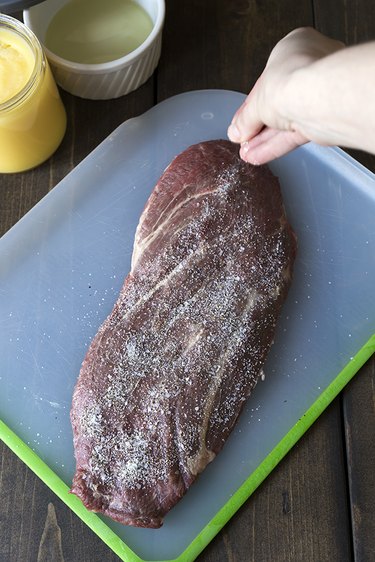
Step 4: Grill the Steak
You can do a quick test to see if the grill is hot enough. Hold your hand near the grates. You shouldn't be able to kept it near the heat for longer than 2 seconds. You should hear a sizzle when the steak hits the grill.
To Grill The Flat Iron:
Using tongs, place the steak on the grill and close the cover. Grill on high heat for approximately 3 to 4 minutes per side for medium-rare. To take the guesswork out of this, you can use a digital probe thermometer to test the internal temperature.
To Grill The Ribeye:
Using tongs, place the steaks on the grill, cover, and cook for 4 to 5 minutes. Turn the steaks over, cover, and grill for an additional 3 to 5 minutes for medium-rare. Again, use a digital thermometer if you want to be sure of the internal temperature.
Tip
Medium rare is a good goal for steaks, but doneness is a personal preference. When using a digital thermometer, here are the numbers to keep in mind:
- 125 degrees F = rare (a cool, red center)
- 130-135 degrees F = medium rare (a warm, red center)
- 135-140 degrees F = medium (a pink center)
- 140-145 degrees F = medium well (barely pink center)
- 155+ degrees F = well done (cook through, no pink center)
Carry over cooking will occur when the steaks are removed from the grill. This means that they will retain their heat and continue to cook while resting. A good rule of thumb is to remove the steaks about 5 degrees below the temperature where you want them to ultimately settle.
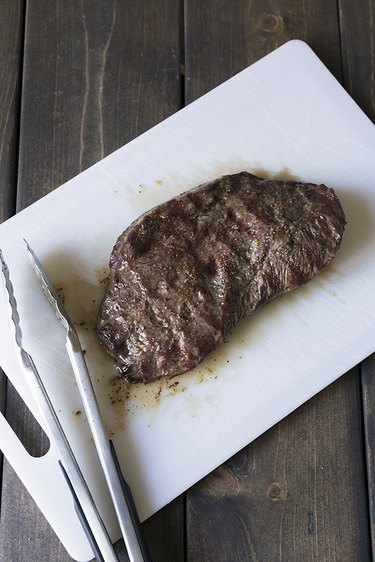
Step 5: Allow the Meat to Rest
Regardless of which cut of meat you are grilling, you always want to allow meat to rest so the juices have time to settle. 8 to 10 minutes is a safe amount of time with most cuts. To retain the heat, you can tent foil over the meat while it's resting.
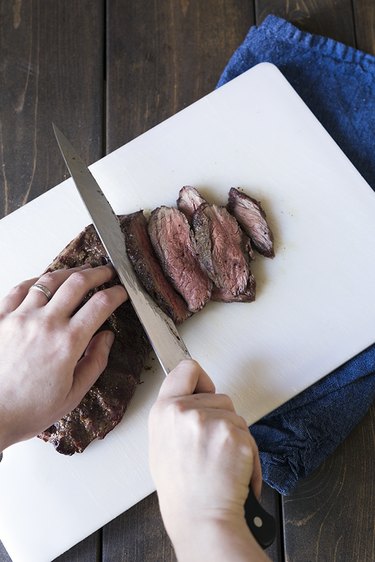
Step 6: Slice the Flat Iron Steak
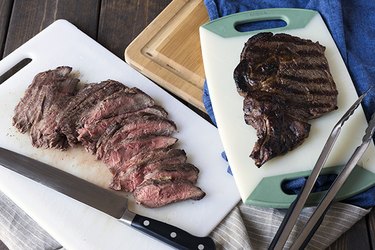
The flat iron steak needs to be sliced before serving. A chef's knife will get the job done, but I recommend using a long, thin meat slicer. This will allow you to slice along the length of the blade without having to use a sawing motion. Cheaper cuts can be a bit tough, but they are very enjoyable when cut into thin slices against the grain. Cut on a bias for wider slices. This type of meat is excellent on sandwiches.
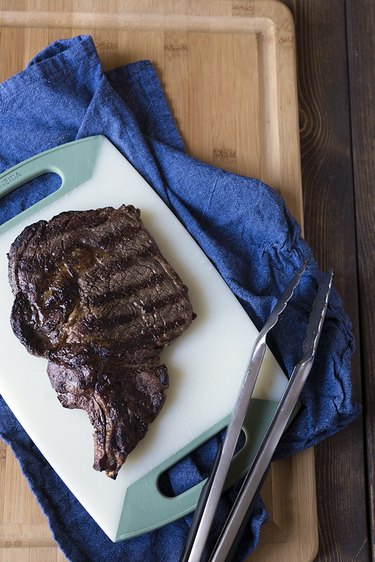
Step 7: Serve the Ribeye Steak Whole
While the flat iron steak needs to be sliced, the ribeye can be served whole. It's a tremendously flavorful cut. You can get fancy with condiments, but this cut is expensive for a reason. It has so much natural marbling that it's best served by itself, in my opinion. Salt, pepper, and oil for grilling are all you need. Maybe some grilled vegetables on the side!
