Things You'll Need
PVC drain pipe
PVC pipe cleaner
PVC pipe cement
PVC piping
Ready-mix cement
Wheelbarrow
Shovel
Trowel
Pressure-treated lumber
Screws
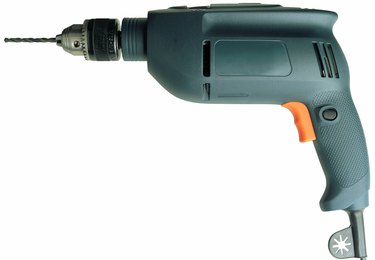
Electric drill
Concrete saw or jackhammer

A basement equipped with a sump pit and sump pump already has the ability to efficiently remove water from the area. Adding a shower to this area will require some careful planning, but the hardest portion of the project is already in place and all but ready for hook-up. Although the sump pump may be in place, several items remain to be installed and prepared.
Step 1
Determine the location for the shower stall to be installed. The closer the shower can be to the sump pit, the easier the project will be, as well as less costly. Very carefully mark the center point of the shower stall where the drain will be located. From this point mark a straight line to the sump pit. This will be the route for your shower drain line.
Video of the Day
Step 2
Excavate along the drain line using either a jackhammer or a saw capable of cutting through concrete. The trench will need to be approximately 3 inches wide and 6 inches deep. At the area where the shower drain will be located, make the opening in the concrete slightly larger -- approximately 8 inches across and 12 inches deep.
Step 3
Install a 2-inch PVC drain line in the trench from the sump pit to the drain area. At the drain area, install a shower trap before bringing the pipe up and attaching a threaded pipe fitting compatible with the drain on the shower stall you are to install. At each pipe junction, be certain to use pipe cleaner and adequate pipe cement. You will want to hold each coupling securely for several moments to be sure you have a tight fit.
Step 4
Mix the concrete in the wheelbarrow. Check to be certain the drain coupling is properly located, then fill the trench with concrete. Use a trowel to smooth the concrete until it is flush and even with the existing floor. Allow the concrete to set for at least 24 hours before proceeding.
Step 5
Install tee junctions in a nearby hot and cold water line. Route these new lines to the shower area and align them with the openings on the shower stall. Connect all faucets and stem valves, carefully measuring and remeasuring each fitting to ensure its location.
Step 6
Build a framework for the shower stall using pressure-treated lumber. For best results put the studs on 16-inch centers. Once the framework is in place, slide the shower stall into the opening and secure it in place using 1 1/2-inch screws. Make the final drain connections and install the faucet handles and shower head. The shower is now ready for use. Depending on your intended use for the area, you can also now box in the shower area with drywall and molding along the front edges to add a decorative touch.
Tip
When using a jackhammer or cement saw, be certain to wear the proper protective equipment. Eye and ear protection are a must and gloves and heavy boots are recommended.
Warning
Do not leave the sump pit uncovered. Build or install a cover for the pit to prevent a trip hazard.
Video of the Day