Things You'll Need
Gloves
Garden hose
Pressure nozzle
Caulking gun
Putty knife
Oil-based penetrating sealer/stain
Airless sprayer

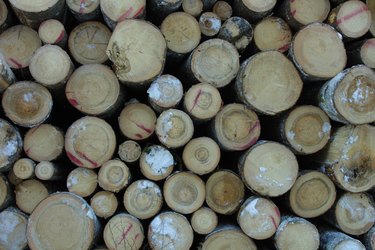
Pine logs have been used by homeowners and woodworkers for hundreds of years, to craft warm, durable and beautiful log homes, barns, lodges and cabins. Pine logs are favored as a sustainable, natural building material that is readily available and easy to work with. Because pine is a natural material, the wood requires preservation and regular maintenance to retain its natural beauty.
Step 1
Inspect your log home annually for any signs of insect infestation, fungi, mold or mildew. Once a year (fall is a good time) use a stiff broom to remove all surface debris, pollen and dust. Rinse the logs down, starting at the eaves and working down to the foundation. Use a pressurized nozzle and garden hose or a commercial pressure washer set to a low setting. Allow the logs to air dry.
Video of the Day
Step 2
Chink and caulk the logs as required. Chinking is available from log contractors and can be applied with a caulking gun or putty knife. Read and carefully follow the manufacturer's product guide and application instructions.
Step 3
Apply a penetrating oil-based sealer to the logs. The sealer can be hand brushed on for heavier coverage, or two coats with an airless sprayer will provide adequate coverage. Exterior log walls that have full sun exposure require an extra coat of sealer. A colored stain can be added to the sealer to intensify or change the color of the logs. Read the product label directions for application instructions.
Tip
Never use varnish or a coating film finish such as polyurethane on exterior logs.
Video of the Day