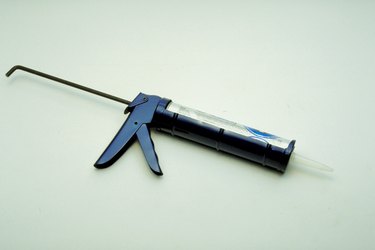
Things You'll Need
Caulk-stripping agent
Caulk-cutting tool or razor blade
Screwdriver or other thin-pointed tool
Abrasive pad
Mineral spirits
Bleach
Water
Gloves

All caulk must be replaced at some point. In fact, it is recommended that bathtub and shower caulk be replaced once a year. Because caulk is placed in wet or moist areas, it can start to mold and peel away from the edge. Removing old caulk and replacing it with new, clean caulk will not only make your bathtub or shower look great again, it will also give your home added protection from dangerous water and moisture leakage.
Step 1
Spread the caulk-stripping agent over the entire surface of the caulk to be removed, being careful to avoid the surrounding areas.
Video of the Day
Step 2
Soften the caulk by letting the caulk-stripping agent sit on the caulk for the length of time recommended on the package. Follow all directions on the specific caulk-stripper you have purchased carefully.
Step 3
Slice the caulk vertically at each corner using a caulk cutting tool or razor blade.
Step 4
Pull the caulk out of the edge in long strips by grabbing each end where you made the cut and yanking slowly and forcefully. Drive a screwdriver or other thin, pointed tool under stubborn caulk and pull it out of the edge.
Step 5
Scrape any remaining caulk off of the surface and out of the edge using a caulk removal tool, razor blade or other sharp object. Move the blade in one direction, instead of scraping back and forth, and periodically spray the surface with water to prevent nicks and scratches.
Step 6
Reapply the caulk-stripping agent if a lot of caulk remains. Purchase a stronger caulk remover from your local home improvement store and repeat steps 1 and 2 if necessary.
Step 7
Scrub the area with an abrasive pad that has been soaked in mineral spirits once all of the caulk has been removed to remove any remaining caulk or caulk residue.
Tip
Don’t damage the surface tile or other materials when using the razor blade. Work slowly and carefully.
Warning
Always wear gloves throughout the process to protect your hands the razor blades and chemicals.
Make certain the area is properly ventilated, particularly when using chemicals and bleach.
Video of the Day