Things You'll Need
Clay from an eroded side of a riverbed
Water
Sand, shells or grog (crushed pottery)
Newspaper
Plastic containers for wet clay and sand or shells
Small sharp stick for decorating
Old cotton pillowcase
Smooth sandpaper

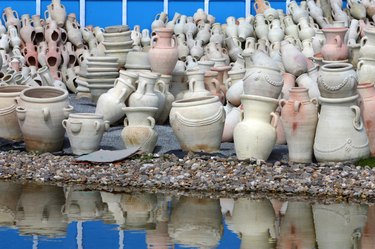
While no one thinks of sun-baked clay pottery as being plastic, it is, but not in the traditional sense. Clay may be shaped and molded because of the moisture trapped within it. This is called plasticity. After clay has been left in the sun to dry, it retains its shape because the process of drying has altered its plasticity. When the clay object is rehydrated, it does not retain its design and shape. For this reason, sun-baked pottery cannot be used for anything other than dry storage or decoration.
Preparing Your Materials
Step 1
Walk a river to find clay deposits along an eroded bank. These deposits will be dark red, deep burnt orange, chalky yellow or concrete white. All rivers do not have obvious clay deposits so unless you know where to find clay, this will probably be the most time-consuming part of your project. Sometimes, you can find deposits along a stream bed or near a pond. Fill a container with clay. The clay should be very moist, but not dripping.
Video of the Day
Step 2
If sand or shells are available along the same or nearby banks, fill separate containers with them. They will be used to hold your pottery together.
Step 3
Spread newspaper over your work area. Sift out impurities (like grass, sticks and dead bugs) in your clay by picking them out and working it with your fingers until it is smooth.
Step 4
Mix a small amount of sand, crushed shells or grog (crushed pottery) into your clay. This acts as a tempering agent and gives your pottery strength. You could also increase your project's strength by mixing in a little bit of wet, shredded paper. As the clay dries, the fibers of the paper will help hold it together.
Creating Your Clay Project
Step 1
Keeping your hands flat, roll pieces of your clay mixture into long wormlike strips. Make several strips at one time.
Step 2
Coil one of the strips. Begin by making a flat coil. As soon at the measure of the coil is the size you desire the base of your pottery to be, add the other strips. Begin coiling your clay strips on top of each other so that the project takes the form of a small basket.
Step 3
The clay will begin to dry by the time you have gotten to this step. When your vessel is the size you desire, wet your hands and begin flattening the sides and bottom so that they become solid. If you choose to decorate your pottery project, draw on the sides with a stick or stamp designs into it.
Step 4
When you are able to remove your hands from your project without it collapsing, place it on a folded up pillowcase in a sunny window to dry. Rotate your pottery fairly regularly as breezes will make drying uneven. The length of time needed will depend upon the warmth of the sun as well as the size of the project.
Step 5
After your project is completely dry, use smooth sandpaper to remove any remaining evidence of coiling.
Tip
While this method is used for river clay, most craft stores sell self-hardening clay. The preparation is not the same, but the method of creating your project is.
Video of the Day