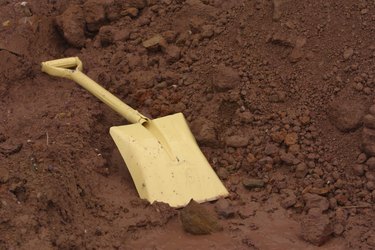
Underground shelters serve multiple purposes, from basement storage and root cellars to storm cellars for protection during bad weather. Because these shelters sit below ground level, they frequently have a problem with moisture seepage. This moisture may appear in the form of condensation on walls or actual standing water within the shelter. Prevent moisture problems using a multi-step approach during construction.

Video of the Day
Things You'll Need
Shovel
2 Metal Grates
Waterproofing Paint
2 Clay Pipes,
Gravel
Paint Roller
Step 1
Dig a trench 1 foot wide and 1 foot deep around the perimeter of the underground shelter.
Video of the Day
Step 2
Pour a 6-inch layer of gravel into the trench. Use the shovel to spread it out evenly.
Step 3
Place two clay drain pipes on top of the gravel on either side of the shelter. One end of each pipe should open at the surface of the ground. The other end of the pipes should slope slightly downward, extending at least 15 feet away from the shelter and empty underground. Place extra soil into the trench to create the slope as needed. When the pipes are installed, cover them with soil. Do not cover the main drainage hole with soil. Place a grate over the tops of these holes to prevent debris from entering the pipes.
Step 4
Paint any visible part of the exterior shelter wall with waterproofing paint. Waterproofing paint is sold in paint stores and most home improvement stores. Allow the paint to dry for one hour. Apply a second coat.
Step 5
Apply two coats of waterproofing paint to all interior walls, ceiling and floor of the shelter.