Things You'll Need
Ceiling paint
Texture sand
Mixing stick
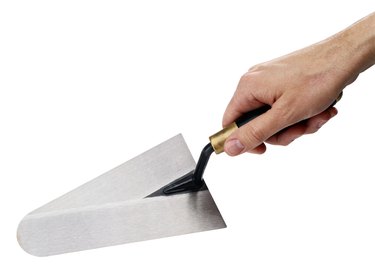
Smooth trowel
Bucket
Water
Sander (belt or circular)
Sponge
Pencil or felt marker
Ladder or stool

Stipple ceilings are a common sight in many homes. They're nothing more than a textured finish made by mixing sand with a ceiling paint compound and extending the mixture instead of smoothing it out. Stipple ceilings come in many types of texture, such as "popcorn" or "swirled," but an actual "stipple" resembles a stalactite. While they are generally low-maintenance, repairing a stipple ceiling could pose quite the challenge if not done correctly.
Step 1
Isolate the area of the ceiling that needs repair. Draw a wide circle or other shape around the area. Make sure the area you mark is large enough to work with easily, yet small enough to blend into the existing stippling.
Video of the Day
Step 2
Fill the bucket with water and thoroughly wet the sponge. Wring out excess water, but not to the point that the sponge is only damp.
Step 3
Apply the wet sponge to the damaged area. Repeat this step until you feel the stipple softening. Scrape the damaged stipple off with the straight trowel or use the sander to remove. Let the area dry completely. Dump out the water.
Step 4
Pour the appropriate amount of paint into the bucket and add the texture sand, mixing often, until the thickness matches the existing stipple. Test this by putting the paint mixture on the trowel and pressing gently to the repair spot. When you pull the trowel away, determine if the stipples are equal to existing stipples. If not, add more sand and repeat the test.
Step 5
Allow the stipple to dry until solid. You may notice a difference in the color, but that is usually because of the aging of the stipple around the repair. You can paint stippled ceilings using special paints and tools. Check your local home improvement store for supplies.
Video of the Day