Things You'll Need
Aida cloth sized appropriately for your project
Fabric soap
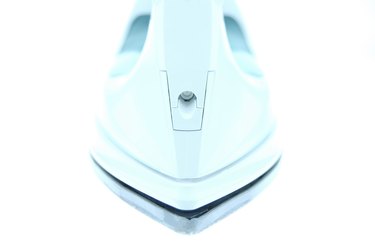
Iron
Design in a digital file format on your computer
Iron-on transfer sheet for your computer printer
Printer
Ironing board with padded cover
Sewing pin

Counted cross-stitch, as we know it today, is a form of needle-art which was revitalized in the sixties though its roots go back many thousands of years. While it is common to create a cross-stitched piece by following a pattern printed on paper, some cross-stitch products have the design printed right on the fabric. You can make your own printed cross-stitch projects, referred to as stamped cross-stitch, by printing your design onto an iron-on transfer sheet and then transferring the design to the counted cross-stitch fabric.
Step 1
Wash the aida to remove fabric sizing. Lay the aida on a flat surface to dry. Iron as necessary so the cloth lays flat.
Video of the Day
Step 2
Load the iron-on transfer sheet into your printer. Follow the iron-on transfer instructions for printing the design on the transfer sheet.
Step 3
Follow the iron-on transfer instructions for ironing the printed design onto the aida fabric. Allow the aida to cool completely after the design is transferred.
Step 4
Turn the aida cloth over so the printed side is face-down on the padded ironing board.
Step 5
Poke the sewing pin through the aida holes to pierce the design on the front.
Step 6
Turn the aida right-side up. The design is ready to be stitched.
Tip
Aida cloth is best type of counted cross-stitch fabric for this type of design transfer. The aida has enough fabric between the holes to accept the iron-on transfer material. Depending on your fabric, you may need to block the fabric after it is washed so it is square.
Video of the Day