Things You'll Need
Tape measure
Electrical box
Drywall saw
Electrical wire
Electrical fittings
Wire nuts
Single pole line voltage thermostat
Wire stripper
Screwdriver
Hammer
Drywall
Drywall mud
Sandpaper
Texture
Paint

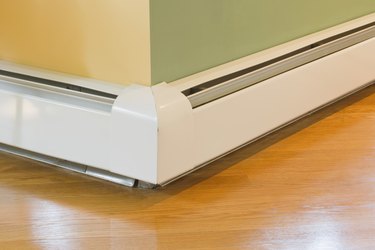
Single pole thermostats are line voltage thermostats that are commonly used with electric baseboard heaters. Single pole thermostats act as a switch and break the power connection between the thermostat and the electric heater. This means that power is always live at the electric heater, but since the circuit cannot be completed, the heater does not operate. It is moderately easy to wire a single pole thermostat, since only a few wires are used and only a few tools are needed.
Step 1
Turn off the power to the electric heater by turning off the correct circuit breaker in the circuit breaker panel. To ensure the power is off, test for power at the electric heater with a volt meter.
Video of the Day
Step 2
Install an electrical box between 4 and 5 feet off the floor where you would like to install the thermostat. You may need to open drywall between the thermostat location and the electric heater to properly install the electrical box and wiring.
Step 3
Install wiring between the electrical box and the electric heater. Use two conductor wires (one hot wire, one neutral wire and a ground). Check the installation instructions for the electric heater to see what gauge wire you need to run. Wire gauge is dependent upon the amperage draw of the electric heater.
Step 4
Remove the thermostat cover and make the electrical connections at the electrical box. The red wire from the thermostat will connect to the black wire coming from the electric heater. The black wire from the thermostat will connect to the white or red wire coming from the electric heater. These connections should be made with wire nuts. The ground (green) wire coming from the electric heater will fasten to the ground screw in the electrical box.
Step 5
Mount the single pole line voltage thermostat to the electrical box and push on the thermostat cover.
Step 6
Make the appropriate electrical connections at the heater, which vary depending on the individual heater. Read the installation manual and follow the wiring diagram.
Step 7
Turn the power back on to the electric heater circuit and turn the thermostat all the way clockwise to see if the heater turns on. If it does, turn the thermostat all the way counterclockwise to see if it turns off. If it does, the heater and thermostat are operating correctly.
Step 8
Repair the drywall. Mud, sand, texture and paint as needed.
Tip
Refer to all local electrical codes and ordinances to make sure the wiring is in accordance.
Warning
The power needs to be off to the electrical circuit before working on it. Failure to do this will result in electric shock or electrocution.
Video of the Day