Things You'll Need
Printer and printer paper
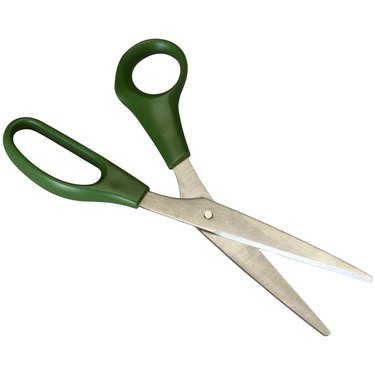
Scissors
Ruler (optional)
Pencil
Brown or black construction paper
Tape or staples
Butcher paper

Tri-corner hats are a good craft project for kids learning about Colonial America. Historically, these hats were made out of felt and leather, but you can make an easy replica using construction paper or butcher paper. There are two basic models for paper three-cornered hats: headband-style, which is simple to make but only approximates the shape of a real colonial hat, and full hat-style, which is more complicated but still doable for older children.
Headband-Style Colonial Hat
Step 1
Print out a pattern for a three-cornered hat. Find a link to one in References, or find your own. If you don't have a printer, draw a triangle that's about 7 inches wide by 4 inches high, then curve the sides outward.
Video of the Day
Step 2
Cut out the pattern and trace it onto brown or black construction paper. You'll need three pieces, one for each side of the hat.
Step 3
Tape or staple the three pieces together to create a headband. You can adjust the size to a child's head; the closer they are to the corners of the hat, the larger the hat will be.
Paper Tri-Corner Hat
Step 1
Cut a strip of butcher paper 3 inches wide by 22 inches long. Wrap it around the child's head to fit the band; it should be snug, but loose enough to fit a finger underneath. Tape or staple the band to the correct size.
Step 2
Draw and cut out an oval about 8 inches wide by 9 inches long--see References for patterns. Cut small triangles in the outside to create tabs. Fold up the tabs so that they fit inside the band.
Step 3
Trace the top of the hat to mark the inside of the brim, then draw another oval around it that's about 3 inches wide.
Step 4
Cut out the large oval and cut tabs along the edge of the center oval. Fold up the tabs and tape or glue them to the inside of the band, then glue or tape the top of the hat to the other side of the band.
Step 5
Curl up three edges of the hat and tape or glue them to the top of the hat to give it a three-corner shape.
Tip
If you used glue, wait for the glue to dry before wearing your hat.
Video of the Day