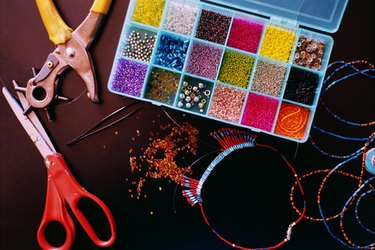
Things You'll Need
Wax or graphite pencil
Leather sewing needles
Dental floss or fine beading cord
Beads

Though relatively simple in concept, the process of attaching beading to leather is as much an art as it is structural. In order to make the precise and often time-consuming steps required for sewing bead work to leather successful on the first try, it's important to plan your bead design thoughtfully while taking care to ensure that the stitching is both secure and attractive.
Step 1
Draw the design you want on the leather using a wax pencil or use graphite for suede. Use lines to represent the strings of beads as you want them to stretch out over the surface of the leather. This will help you get a rough idea of how the design will look and ensure that you get the basic size, shape and positioning where you want it before you start sewing. If you make a mistake, wipe away or erase the pencil marks and try again.
Video of the Day
Step 2
Decide what beads to use on your line design. Lay your leather piece flat on an even surface, then lay beads over the pencil lines to see what looks good. If you end up making a particularly complex design, take a quick photo of it so you can reproduce it when you're sewing.
Step 3
Thread a needle with beading cord and tie a knot close to the end of the string. Poke the needle through the leather from the inside of the material out, lining it up with the end of one of your pencil lines. Pull the cord through until it is stopped by the knot on the other side.
Step 4
Attach the first bead by threading it onto the tip of the needle, then pushing it down to the leather. If the bead is small, add another or a few more before pushing the needle back into the leather to secure the bead work. For best results, create a new stitch after roughly every 1/3 inch of beading.
Step 5
Push the needle from the back of the leather to the front again, forming a very small stitch. Add a few more beads and make another stitch. Keep the lines of beads in line with the pencil line.
Step 6
Finish covering the first pencil line with beads, then push your needle through to the underside of the leather. Secure the cord with a knot against the leather, then trim the excess cord.
Step 7
Continue the process of stitching beads onto other lines in the design until they are all covered.
Step 8
Erase or wash away any remaining visible pencil lines.
Tip
Coat your thread with beeswax to allow it to slide through the leather easier.
Warning
Don't keep working without occasionally dropping the needle and letting the thread untwist.
Video of the Day