Things You'll Need
Iron-on transfer paper
Regular printer paper
Computer
Printer
Scissors
Shirts
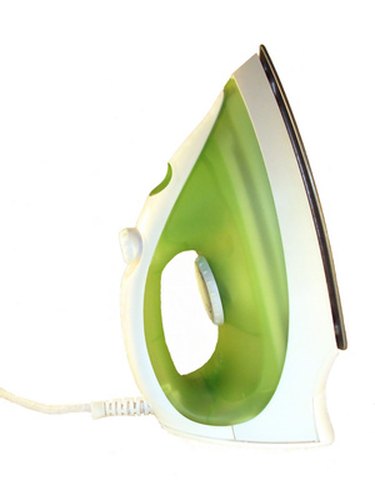
Iron
Ironing board

Adding a number to a shirt is very easy to do at home if you use iron-on transfer paper. The paper is widely available in office supply stores and craft stores. You need a printer and a computer to design the numbers and print them onto the paper; if you don't have the necessary equipment at home, just visit your local print shop and bring the print-outs home to iron onto the shirts. This is an inexpensive alternative to commercial shirt printing.
Step 1
Using any word processing program, type the number you want to print on the shirt. Change the size, font and color of the number so that it looks exactly as you want it to appear on the shirt. Print the number out on regular paper and hold it against the shirt to check the size.
Video of the Day
Step 2
Manipulate the number so that it is a mirror image of the way it will appear on the shirt. Print the number onto a sheet of transfer paper, using the print settings recommended on the packaging. When the ink is dry, cut the number out, leaving a 1/4-inch margin around the printed area.
Step 3
Iron the shirt and position it over the end of the ironing board so that only the layer of the shirt that you want to iron the number onto is on the board. Make sure that the fabric is smooth.
Step 4
Position the paper number on the shirt, making sure that it is centered and straight before you iron it.
Step 5
Follow the specific directions on the packaging of the iron-on transfer paper. This usually involves placing the paper onto the shirt, ironing the back of the paper, then peeling away the paper layer to leave the number stuck to the shirt. Do not use steam.
Tip
Use 100 percent cotton shirts for the best results.
If you have difficulty removing the backing from the paper, the image may not be set. Stop and press the paper with the iron for a longer amount of time, then try again.
Video of the Day