Things You'll Need
Paper
Pencil
Scissors
Glove fabric
Pins
Fabric pencil
Thread
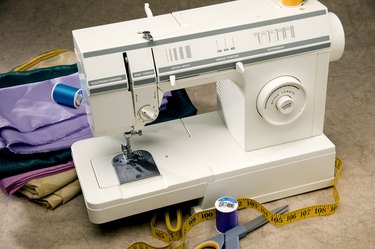
Sewing machine

Kids can run through pairs of winter gloves fairly quickly, due in equal part to growth and rough play. Some find it easier to simply make their own gloves, rather than purchasing store-bought gloves that may not fit as well as desired. In addition to winter gloves, you may also need a special pair of gloves to go with a costume, or fancy gloves to be worn with a formal dress. To make a pair of children's gloves, you do not need a professional glove pattern. You can create a custom pattern for any style of glove guaranteed to fit your child's hands.
Make the Glove Pattern
Step 1
Place your child's hand on top of a piece of folded paper. Line up the folded edge of the paper with the outside edge of the pointer finger, leaving the thumb off the paper.
Video of the Day
Step 2
Trace the outside of the hand and the fingertips. Do not trace between the fingers.
Step 3
Draw a dotted line between each finger, all the way down to where the finger joins the palm. Mark the thumb opening, then have your child lift his hand.
Step 4
Cut along the full lines. Place pins through the dotted lines and transfer the dots to the opposite side of the paper. Move the lowest dot down 1/2 inch to account for ease.
Step 5
Open the pattern and cut down the dotted lines.
Step 6
Trace the thumb on a separate folded piece of paper. Lay the outside edge of the thumb along the fold.
Step 7
Add a convex curve to the bottom of the thumb piece, to allow for room for the thumb joint. Cut the thumb piece from the pattern.
Sew the Children's Gloves
Step 1
Lay the pattern pieces against your glove fabric. Add seam allowances of 1/2 inch to all sides, then cut two of each pattern from the fabric.
Step 2
Take a glove piece and fold it so that the right sides are together. Stitch around the outside edges of the fabric, 1/2 inch away. Leave the thumb opening and wrist open. Repeat this step on the other glove piece.
Step 3
Take a thumb piece and fold it so that the right sides are together. Stitch the side seam and top edge. Repeat this step on the other glove piece.
Step 4
Fit the thumb pieces into the thumb holes on the glove pieces, so that the right sides are together. Stitch around the thumb openings, adjusting for fit.
Step 5
Trim and zigzag stitch the seam allowances. Turn the winter gloves right side out.
Video of the Day