The spring angle on crown molding is the angle formed from the back of the crown molding to the wall. You must know the spring angle for your crown molding to select the correct setting on your table saw or miter saw. If you set your saw for a miter cut according to an incorrect spring angle, the molding will not fit together properly, leaving you large gaps to repair or wasted crown molding. Crown molding comes in three basic spring angles: 38 degrees, 45 degrees and 52 degrees.
Step 1
Cut a small piece of molding to use for measuring the spring angle.
Video of the Day
Step 2
Hold the molding in correct installation position against the wall and ceiling.
Step 3
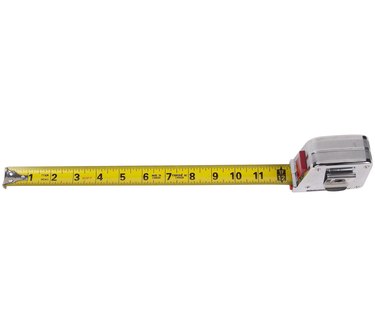
Measure from the wall across the roof to where the back of the molding meets the ceiling.
Step 4
Measure from the ceiling down the wall to where the back of the molding meets the wall.
Step 5
Assess the measurements. If the measurement on the ceiling is the longest, then the crown molding has a 52-degree spring angle. If the measurement on the wall is the longest, then the crown molding has a 38-degree spring angle. If the measurements are the same, then the crown molding has a 45-degree spring angle.
Video of the Day