Things You'll Need
Measuring tape
Square adaptor
Square-to-round 6- or 7-inch adaptor
Cordless drill
Sheet-metal screws
Bit (for sheet-metal screws)
Rotozip saw
Extension cord
Silicone

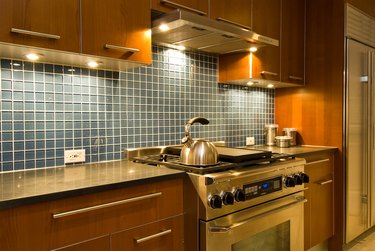
Before you install that kitchen exhaust fan, think about the ducting requirements. Although ductless units are available, they generally don't work well. You'll have to install ducting to the back or top of the kitchen exhaust fan to vent it outside. Vent the exhaust hood either through the wall or the ceiling.
Step 1
Measure the duct opening size on top of your kitchen exhaust fan. Use a measuring tape. Some connections will be square and some round. The ducting is always 6- or 7-inch, round stock. You may need a square-to-round adaptor from the local home improvement store.
Video of the Day
Step 2
Attach the correct duct adaptor to the top of the exhaust fan, by pushing it down over the protruding collar. Secure it to the kitchen exhaust fan with sheet-metal screws, a cordless drill and bit. Put two to three screws around the perimeter of each side.
Step 3
Place the wall outlet template on the wall and mark it with a pen. Use a rotozip saw to cut out the hole in the wall. Most kitchen exhaust fans are wall-vented because attic space is not available.
Step 4
Install the vent outlet cover from the outside of the house. Secure it to the wall with drywall screws. It will meet up with the ducting on the inside of the house. Use silicone to seal around the cover.
Step 5
Place the exhaust hood unit up to the wall. Have a friend help you hold it in place. Push it back to the wall and slide it over the vent outlet cover you previously installed from the outside.
Step 6
Attach a couple of sheet-metal screws through the vent cover and the vent coming from the back of the exhaust fan. Mount the exhaust fan to the wall using screws through the mounting holes.
Tip
Install all the ducting before the fan unit gets installed on the wall.
Video of the Day