Things You'll Need
Vinyl siding
Worktable
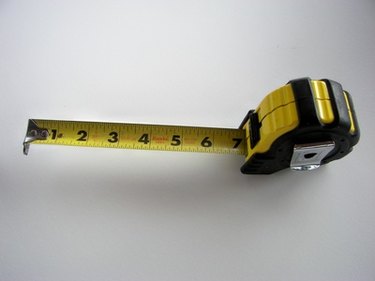
Tape measure
Carpenter's pencil
Snap lock tool

Vinyl siding protects the exterior of your from the elements and is an affordable option when renovating your home. There are tools that are designed for the sole purpose of installing vinyl siding. One of those specialized tools is the snap lock tool. The snap lock tool creates a dimple on the top of the vinyl siding that allows the vinyl siding to lock into utility trim that attaches to windows and the top of your home's exterior wall.
Step 1
Place the length of vinyl siding on the worktable.
Video of the Day
Step 2
Stretch the tape measure along the length of vinyl siding, and mark the area of the vinyl siding that will enter into the utility trim with the carpenter's pencil.
Step 3
Make a mark with the carpenter's pencil 1 inch in from each end of the area entering into the utility trim, and then place one mark every 16 inches on center between the two one-inch marks.
Step 4
Slide the raised punch side of the snap lock tool onto the backside of the vinyl siding, aligned with one of the carpenter pencil marks you placed on the vinyl siding in the last step.
Step 5
Push the punch tool until the stop of the snap lock tool meets the edge of the vinyl siding, and pull the handles of the snap lock tool together to make a dimple in the vinyl siding.
Step 6
Repeat the previous two steps to create a dimple at each pencil mark you placed on the length of vinyl siding.
Step 7
Install the vinyl siding per the manufacturer's installation instructions. Make sure that the dimples created by the snap lock tool slide behind the front edge of the utility siding.
Video of the Day