Things You'll Need
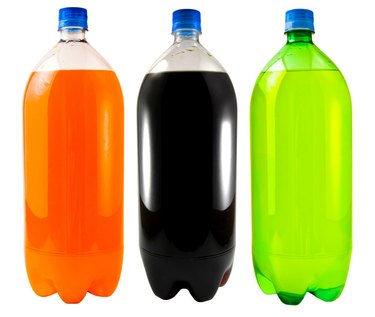
2-liter soda bottle
Funnel
Small package of craft sand
1 sheet paper
Ballpoint pen
Scissors
Butter knife
Hot glue
Hot glue gun
Flesh-colored cotton sock
Sewing pin
Twist tie
Permanent markers, assorted colors
Felt, several colors

Get crafty and upcycle empty soda bottles to make little people. You can use any shape or size of bottle to make one of these whimsical dolls for play or display. This tutorial is for a large soda-pop-bottle person, but the technique is the same for smaller bottles. Use these bottle people for decoration, school projects or a kid's craft project.
2-Liter Bottle Person
Step 1
Remove the plastic label from the soda bottle. Wash and dry the bottle and lid. Allow the bottle to dry completely.
Video of the Day
Step 2
Insert a funnel into the bottle and fill the bottom of the bottle with craft sand -- just enough to stabilize the bottle so when it is a doll, it won't tip over. Screw the lid back onto the bottle.
Step 3
Create a face pattern: Using the Styrofoam ball to brace your pen, trace a 4-inch circle onto a piece of paper. Draw two eyes and a mouth onto the circle. Cut the eyes and mouth out of the circle to create a stencil pattern. Set the pattern aside.
Step 4
Press the Styrofoam ball onto the soda bottle over the cap and neck section of the bottle. Guesstimate the center of the ball -- it doesn't need to be exact. Remove the ball. There should be a hole the size of the bottle cap and neck pressed into the surface. If necessary, use a butter knife to remove excess Styrofoam from the hole. Dab hot glue into the recess, and quickly place the ball back onto the cap. Let the glue dry.
Step 5
Slide a flesh-colored sock over the Styrofoam ball. Lay the face-pattern stencil against the ball and pin it in place with a sewing pin. Trace the facial features onto the sock with a permanent marker. Remove the pattern.
Step 6
Add details to the face with permanent markers. Color in the eyes and lips; if desired, draw rosy cheeks or any other distingushing features for the figure you're creating.
Step 7
Fasten a twist tie underneath the head (Styrofoam ball). The tie should pull the sock tight and create a neck-like area.
Step 8
Place a thin line of hot glue underneath the end of the sock and press it onto the bottle.
Step 9
Hot-glue doll hair to the top of the doll's head.
Step 10
Mentally divide the bottle into two sections. The bottom section should be longer than the top. Now wrap a wide rectangular piece of felt around the bottle for pants or skirt, and trim it to fit. Hot-glue it in place.
Step 11
Wrap a narrow rectangular piece of felt around the bottle for a shirt or other top. Make sure to fit the felt over the twist tie to conceal it. Trim it to fit the bottle. Hot-glue it in place. If desired, roll a strip of felt to make a collar for the shirt and hot-glue that in place.
Step 12
Cut two rectangular strips of felt the same color as the shirt felt for arms. Make sure that the strips are long enough to sit just below the collar and just over the top of the pants. Roll the fabric and hot-glue it to the sides of the bottle.
Step 13
Add clothing details to your doll's felt clothing with permanent markers.
Tip
Add a cone-shaped Styrofoam piece to create a witch's or gnome's hat.
Add buttons for decoration.
Layer tulle over flesh-colored felt to make a ballerina tutu.
Video of the Day