Things You'll Need
Utility knife
Pliers
Wire splicer
Wire nuts
Screwdriver

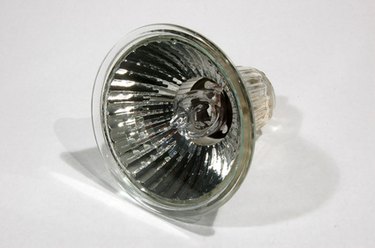
Halogen light bulbs are a more energy-efficient alternative to regular incandescent ones. They are filled with halogen gas which produces a brighter light at a much higher temperature, but because they burn so hot, they must be enclosed in a heat-resistant material, such as quartz. Halogen reacts with the tungsten in the bulb filament, partially recycling it back onto the filament, so that halogen bulbs last longer than incandescent ones. Halogen fixtures are wired in the same way as regular incandescent fixtures.
Step 1
Make sure the power is off.
Video of the Day
Step 2
Remove about 6 inches of sheathing from the electrical cord protruding from the electrical box in the wall or ceiling. Cut around the sheathing with a utility knife, being careful not to cut into the wires inside. Pull the sheathing off with pliers and separate the wires.
Step 3
Use the splicing tool to remove about 1/2 inch from the ends of the black and white wires.
Step 4
Hold the white wires from the box and the light fixture together and twist them clockwise with pliers. When they are secure, screw on a wire nut. Repeat with the black wires.
Step 5
Twist the bare, or ground, wires together. Hook these around the ground nut in the electrical box, if it is metal, and tighten the nut with a screwdriver.
Step 6
Mount the fixture to the box using the adaptor and screws that came with the fixture.
Warning
Halogen bulbs are extremely hot. Never touch one that is burning. Do not place halogen lamps near flammable materials, such as drapes. If you handle a halogen bulb with bare hands, wipe it clean with a cloth before using it. The oils from your hands could cause the bulb to explode.
Video of the Day