Things You'll Need
Thinset
Trowel
Straight edge
Pencil
Tile saw
Grout
Grout float
Damp sponge

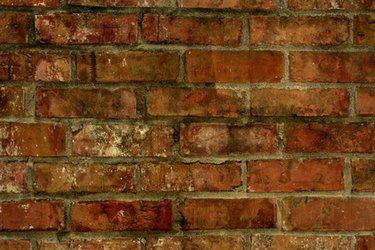
Exposed brick is a look that can complement many styles of home. When more color or personalized style is desired, however, tiling over exposed brick can be a great way to bring a whole new look to the space. Glass tiles, ceramic tiles, porcelain tiles or natural stone tiles can all be laid over brick to give a space a fresh, updated appearance.
Step 1
Mix the thinset to the manufacturer's specifications until it resembles the consistency of peanut butter. Using a trowel, spread an even layer of thinset over the bricks. Use the flat side and edge of the trowel to smooth the thinset, eliminating any ridges or bumps. Allow the thinset to cure for 24 hours before tiling. The thinset will cover the bricks and mortar and provide a flat, smooth surface for tile installation.
Video of the Day
Step 2
Lay the first tile in the lower, center section of the wall by spreading a thin layer of thinset over the area to be tiled and combing the thinset with the grooved edge of the trowel until the ridges are uniform in height. Press the tile into the thinset and twist it slightly into place.
Step 3
Lay the next tiles equally out to the right and left of the first tile in the same manner. Mark tiles that need to be cut at the ends of the row with a straight edge and pencil before cutting them on the tile saw and installing them. Tile the next row above in the same manner. Remember to leave space for grout between the tiles.
Step 4
Allow the thinset to cure for 24 hours and then grout the tiles by packing the grout between the joints with a grout float. Wipe up excess grout with a damp sponge, being careful not to over wet or "wash" the grout, as this can lead to a reduction of grout color. Allow the grout to cure for an additional 24 hours.
Video of the Day