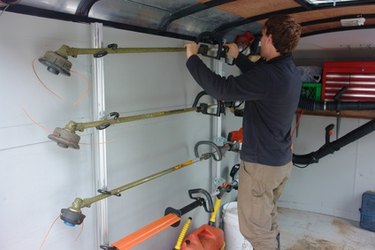
When replacing line on your Yardman string trimmer, you will need to remove the spool. Yardman gas and electric trimmers use the same method to remove and replace the string spool on the trimmer. It is a good idea to inspect the different parts that help operate the trimmer spool and replace them if necessary before reassembling the spool to the trimmer. Yardman trimmer spools do not require any tools to remove or replace the spool.
Step 1
Disconnect the power cord from the wall outlet if your Yardman is an electrical unit. If you have a gas unit, disconnect the spark plug wire from the spark plug.
Video of the Day
Step 2
Lay the trimmer on its side with the gas filler pointing away from the ground. This will prevent fuel from spilling while you are removing the spool.
Step 3
Grab the sides of the spool with one hand and twist the center bump knob counter-clockwise with your other hand. The bump knob is the portion of the trimmer head that you tap on the ground to feed more line when trimming.
Step 4
Lift the bump knob away from the spool and inspect the bolt under the center of the knob. The bolt should move freely when you twist it with your fingers. If it does not spin freely, replace the bump knob when you replace the spool.
Step 5
Lift the spool out of the spool housing with your fingers. Watch for the spring that sits between the spool and the spool housing. Inspect the spring for damage and replace if necessary.
Warning
Always disconnect power from trimmers before attempting repairs or spool replacement.
Video of the Day