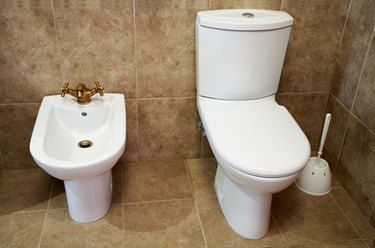
Eljer is a leading toilet manufacturer, producing a variety of the most powerful flushing systems in the world. They offer a limited lifetime warranty on a majority of their porcelain tanks and bowls, so if you are experiencing cracking in either of them, contact the manufacturer. However, it is possible to make some minor repairs yourself and fix toilet leaks.
Tank-to-Bowl Gasket
Video of the Day
Step 1
Close the toilet's shutoff valve. It will be located directly behind the toilet.
Video of the Day
Step 2
Flush the toilet, emptying most of the water out of the tank.
Step 3
Unscrew the tank-to-bowl bolts at the bottom of the toilet bowl with a wrench. These bolts help secure the tank to the bowl.
Step 4
Unscrew the supply line running to the toilet.
Step 5
Remove the toilet tank from the toilet bowl.
Step 6
Remove the existing toilet-to-tank gasket. This is the black rubber piece that sits between your toilet tank and bowl.
Step 7
Set the new tank-to-bowl gasket in place, pulling it tight over the bolts that hold the tank to the toilet.
Step 8
Set the tank back on to the bowl, tightening the tank-to-bowl bolts.
Step 9
Screw the supply line onto the threads on the bottom of the toilet tank and turn on the shutoff valve.
Wax Ring Preparation
Step 1
Close the shutoff valve, stopping the toilet's water supply.
Step 2
Remove the supply line to the toilet.
Step 3
Flush the toilet, emptying most of the water out of the tank.
Step 4
Loosen the two bolts holding your toilet to the floor. You may need a wrench to loosen the bolts.
Step 5
Remove the toilet from where it sits so you can see the closet flange, then scrape away any remnants of the previous wax ring that are on the flange.
Wax Ring Installation
Step 1
Insert the new wax ring into the bottom side of the toilet bowl with the tapered end going in first.
Step 2
Set the toilet carefully back onto the closet flange, ensuring that the floor bolts pass through the holes on the side of the toilet base.
Step 3
Tighten the bolts, securing your toilet back in place.
Step 4
Reconnect your supply line, turning back on the water.