Things You'll Need
Screwdriver
Water
Cleaning rag
Caulk
Caulk gun
Utility knife

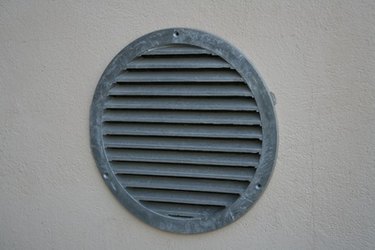
A gap around a dryer vent leaves an opening that pests can use to enter your house. It also creates an air leak that increases the cost of heating and cooling your home. Sealing the gaps around a dryer vent prevents moisture from getting behind the dryer vent and causing damage to your home.
Step 1
Remove the dryer vent by either pulling it out of position or unscrewing the screws that hold it in position.
Video of the Day
Step 2
Wash the dryer vent and wall with warm water and a rag.
Step 3
Place the dryer vent about halfway into the dryer vent opening.
Step 4
Insert the tube of caulk into the caulk gun. Cut the tip of the caulk tube on an angle with the utility knife. Puncture the foil seal at the end of the tube of caulk by pushing the pin that is attached to the caulk gun into the tip of the tube of caulk.
Step 5
Place the tip of the tube of caulk against the space between the dryer vent and the dryer vent opening. Slowly depress the trigger on the caulk gun, allowing a bead of caulk to flow around the dryer vent tube where the dryer vent intersects with the dryer vent opening. Move the tip of the caulk all the way around the dryer vent tube.
Step 6
Push the dryer vent all the way into the opening so it is tight to the wall. Replace screws that may have been removed when removing the dryer vent.
Step 7
Apply a bead of caulk around the perimeter of the dryer vent where it meets the wall to prevent rain from getting behind the dryer vent.
Tip
Plan this project for a dry day when no rain is forecast so the caulk has time to dry before being exposed to water.
Video of the Day