Things You'll Need
Black marker
Chalk line
Safety goggles
Dust mask
Hearing protection
1-by-6 board, 8 feet long
Cut-off concrete saw with diamond blade
Sledge hammer
Skid loader
Hammer drill
1/2-inch masonry drill bit
1/2-inch rebar in 12-inch lengths.
Wire mesh
Bolt cutters or heavy-duty wire cutters
Push broom

The concrete driveway to your home takes a lot of abuse. It's exposed to the elements every day. The concrete will crack over time and must be maintained to keep it in good shape. Otherwise, your driveway will start to crumble and portions of it will have to be replaced. Fortunately, the typical do-it-yourselfer can repair a concrete driveway with some basic tools and a few supplies. For large areas, you may need to rent a skid loader.
Step 1
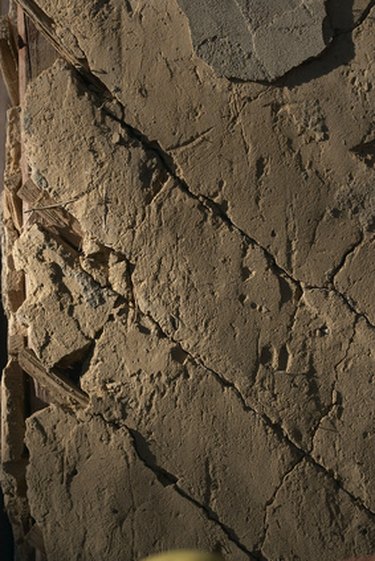
Inspect the driveway for damaged areas. Use a black marker to mark any and all spots that must be removed and replaced. Snap a chalk line around the bad spots. Don safety goggles, a dust mask and hearing protection.
Video of the Day
Step 2
Place a straight, 8-foot length of one-by-six next to the chalk line. The board will act as a guide for the cut-off concrete saw to follow.
Step 3
Start the concrete saw and score the concrete 1/4-inch deep. Walk along the one-by-six and keep the blade next to the wood. Keep the board from moving and score a straight line in the concrete. Move the board and continue to score all your chalk lines.
Step 4
Remove the one-by-six and cut the concrete all the way through. The 1/4-inch score line will help keep the saw blade in the groove as you cut, ensuring a straight line. Cut past the intersection of the lines to cut all the way through the concrete, which should be about 4 inches thick.
Step 5
Score the concrete 1 inch deep within the area you are removing. This will make it easier to break it along the scored lines. Hit the concrete with a sledge hammer and it should break into smaller pieces, which will be easier to remove. Use a skid loader to remove larger pieces from within the repair area, or break them up with your sledge hammer.
Step 6
Drill 1/2-inch holes in the sides of the cut concrete, 6 inches deep, using a hammer drill and a 1/2-inch masonry drill bit. Space the holes 12 to 16 inches apart. The holes are for fitting in rebar, which will tie the new concrete to the old concrete.
Step 7
Tap 12-inch lengths of 1/2-inch rebar into the holes in the sides of the cut concrete. Cut and place concrete wire mesh inside the repair area. The mesh will strengthen the concrete when it is poured. Cut the wire mesh with bolt cutters or heavy-duty wire cutters.
Step 8
Set a one-by-six board along any edge of the concrete repair that does not have existing concrete to frame the repair. Hammer stakes into the ground along the length of the framing board, 16 inches apart, to keep it in place. Nail the board into the wood stakes after checking that the top edge of the board is level with the existing concrete.
Step 9
Place plastic concrete spacers under the wire mesh. The spacers ensure that the wire will be within the concrete and not sitting below it. Pour cement into the repair area and let it set for about 15 minutes. Finish it by lightly dragging a push broom across the surface. This will make the concrete surface safer by providing more traction.
Video of the Day