Things You'll Need
Screwdriver
Heat-resistant foil tape
Scissors

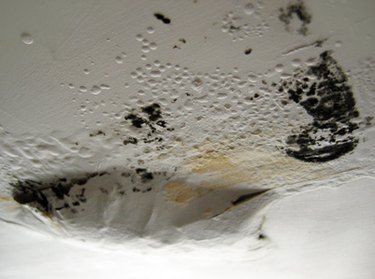
A leak in a clothes dryer vent allows moist air from the dryer to enter the house. The increased moisture can contribute to mold growth if ventilation is not adequate enough to prevent moisture buildup around the location of the leak. In addition, lint may become trapped around the leak, increasing the risk of a house fire. According to the U.S. Consumer Product Safety Commission, overheated clothes dryers were associated with more than 15,000 house fires in 1998, the latest year for which data is available. Seal leaks in dryer vents to reduce moisture buildup and to reduce the risk of a house fire.
Step 1
Pull the dryer vent sections completely apart and remove tape or screws. Do not replace screws when reassembling because lint can catch on a screw in the dryer pipe and increase the risk of a house fire.
Video of the Day
Step 2
Remove all lint from the dryer vent and dryer vent pipe or tubing.
Step 3
Push the dryer vent side that is connected to the dryer into the next piece in the connection. Always insert dryer vent pipe so the dryer side is the side that goes into the next pipe in the connection. If it is done backward, lint can accumulate at the seam and increase the risk of a house fire.
Step 4
Wrap the edge of the connection with heat-resistant foil tape. Cut the tape with scissors. Do not use duct tape or other tape that is not approved for high-heat locations. Do not use screws to attach sections of dryer vent pipe.
Tip
Wear light gloves because the edges of the dryer vent pipe may be sharp.
Clean the outside vent after sealing the leak in the dryer vent to ensure that no accumulated lint is on the outside vent.
Warning
Keep the dryer lint filter clean, inspect the dryer pipe and vents at least once annually and keep clothes away from the bottom of the dryer to improve air flow and to reduce overheating.
Video of the Day