Things You'll Need
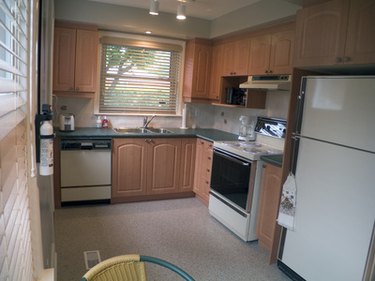
Cabinets
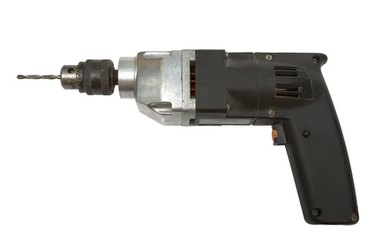
Hammer or rotary drill
3/8-inch masonry bit
3-inch Tapcon anchors
Wood shims
Level
Assistant
Two-by-fours

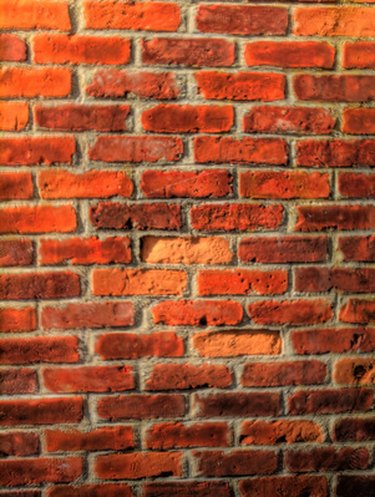
Exposed brick walls add a unique element to the appearance of a room. They also add an interesting challenge if you want to attach cabinets directly to the brick. It can definitely be done, but if you do not consider yourself very handy, you will want to bring in a professional. The last thing you want is to have the cabinets come crashing down after you fill them up.
Step 1
Locate where you want to attach the cabinets. Make sure area is free of clutter so it is easier to work in.
Video of the Day
Step 2

Measure up from the floor and mark the wall at the bottom height where the cabinet will be located. If you are placing the cabinets above an already existing countertop then you can measure from the top of the counter. It is a good idea to have at least 18 to 24 inches of space between the top of the counter and the bottom of the cabinet, but you may want more space depending on how you plan to use the cabinets. Using the level, draw a straight line where the bottom of the cabinet will sit against the wall.
Step 3
Using a two-by-four, build a T-shaped support structure. Use the distance from either the floor or countertop that you measured in the previous step to measure and build the T. It is a good idea to have the T-structure about 1/4 inch shorter than this measurement. As an example, if the measurement is 24 inches, cut the vertical piece to 22 1/2 inches long. The true dimension of a two-by-four is actually 1 1/2 by 3 1/2. Then cut a second horizontal piece about 24 inches long (the exact length of this piece is less important). Stand the vertical piece upright and place the horizontal piece on top and attach. It should now look like a T, which stands 23 3/4 inches high. If you stand it up against the wall, it should come just below the line you have for the bottom of the cabinet.
Step 4

Predrill holes through the back of the cabinets where you want the screws to go through. These will need to go through the frame as this will be the weight-bearing part of the cabinet. You do not want to drill through the thin, outer shell as it is not strong enough. It is a good idea to remove the doors so they are not in the way, and also to reduce the weight.
Step 5
Lift the cabinet and place it on top of the T-structure. Ask your assistant to help with this, as cabinets can be heavy and awkward to handle. Using wood shims under the cabinets and on the T-structure, raise the cabinets so that the bottom sits right on the line you drew on the wall.
Step 6
Locate the predrilled holes in the cabinet. Using the hammer drill and masonry bit, drill pilot holes into the brick about 1/4 inch deep. Repeat for all predrilled holes in the cabinet.
Step 7

Remove the cabinet from the T-structure and finish drilling pilot holes to a depth of about 3 1/2 inches. Replace the cabinet back on the T-structure and line up the holes in the cabinet with those in the wall. Using the manufacturer's recommended screw tip, install one Tapcon-style masonry anchor fastener through each predrilled hole. The anchors should attach themselves tightly to the concrete. Do not tighten completely. Using shims, make sure the cabinets are level and then finish tightening anchors. Remove the T-structure and replace the doors.
Video of the Day