Things You'll Need
10-grit sanding sponge
280-grit sanding sponge
2 brushes
2 rags
Wood stain
Sanding sealer
Wood varnish
Foam brush

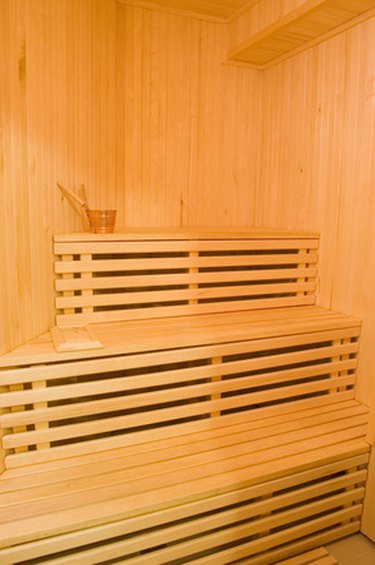
A sauna is a small bathhouse intended for wet or dry heat sessions. Because its wooden surfaces are constantly exposed to moisture and extreme temperature changes, they require the proper finishing. An effective stain and varnish ensures that the sauna wood is able to resist cracking, warping and overdrying. It also provides the wood with a rich, glossy appearance that can endure the varying sauna conditions.
Step 1
Ventilate the sauna as much as possible before beginning the project. Cover your face with a dust mask before sanding or applying chemicals, especially important in the limited workspace.
Video of the Day
Step 2
Sand the bare wood with a flexible 10-grit sanding sponge to prepare it for staining. Use folded sheets of sandpaper to reach tight spaces; this step also smooths out surface imperfections and blemishes that would otherwise be sealed beneath the finish.
Step 3
Prepare a can of wood stain according to the manufacturer's instructions. Once it is stirred, use a natural-bristle brush to apply an even coat, to give the wood a uniform color and saturation. Quickly remove the excess with a rag before it dries.
Step 4
Only apply an additional coat of the stain to areas that still appear too light. Overlapping a second application with an area that has already been treated can result in a difference in color.
Step 5
Brush a sanding sealer over the wood once the stain has cured overnight. Use long strokes in the direction of the wood grain, then wait until it has dried to the touch.
Step 6
Sand the sealed surface with a 280-grit sanding sponge until it is uniformly dull. Go over any streaks or spots that appear shiny to ensure complete coverage of the sauna.
Step 7
Apply a polyurethane wood varnish to complete the finish. Saturate the wood with the product, using a foam brush or painter's rag. Let it dry overnight and then sand it smooth with 280-grit sandpaper. Repeat this process for another coat or two, leaving the top coat unsanded.
Video of the Day