Things You'll Need
Blank wood sign
Sandpaper
Wood putty
Putty knife
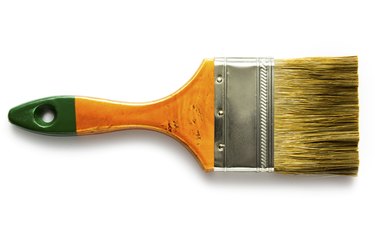
Paint brush
Water-repellent preservative
Acrylic or enamel-based outdoor paint
Wood sealer

Whether you are making an outdoor sign to promote your business or using the sign for yard decor, you'll want to make sure that it looks appealing and holds up through harsh outdoor elements. Fortunately, the supplies you will need can easily be sourced at your local hardware store, and the project should only involve a short investment of time.
Preparing the Wood to Paint
Step 1
Smooth out the surface of the wooden sign with sandpaper, if necessary. Remove all the rough spots and splinters and buff the surface until smooth to help protect the wood from retaining moisture and rotting.
Video of the Day
Step 2
Fill in any knots or holes in the wood by putting an appropriate amount of wood putty on the putty knife and filling the holes. Allow the putty to dry and then lightly sand it to make its texture even with the wood.
Step 3

Paint on a coat of water-repellent preservative that is suitable for painting over. Make sure to brush the preservative on all sides of the sign to ensure it is properly coated. Allow to dry. Remember to rinse your brush out as directed by the instructions that came with the water-repellent preservative.
Step 4
Paint the sign to your design specifications using a paint suitable for outdoor use. Apply additional coats as needed, allowing the paint to fully dry between each coat.
Step 5

Apply a coat of wood sealer once the paint is completely dry. Use a paint brush to apply the sealer over the entire surface of the sign to protect it from the elements and keep it looking fresh. Allow the wood sealer to dry completely before hanging your sign for use.
Warning
When working with water repellents, paint and wood sealers be sure to work in a well-ventilated area to prevent ingesting potentially harmful fumes.
Video of the Day