Things You'll Need
Fine grit sandpaper
Wooden handle slabs
Clean, dry rags
Metal knife blade/tang
Epoxy resin with hardening agent
Plastic bowl and knife
1-inch paint brush
Rivets
2 blocks of wood (1x2x6 inches)
Rubber mallet
C clamps

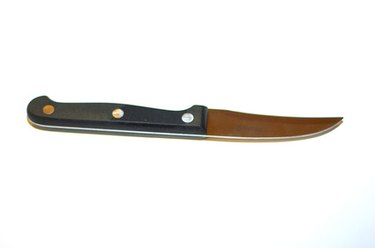
One often overlooked aspect of home safety is knife condition. A knife is a tool that has many uses and takes much abuse. Most people pay no attention to the condition of their knives until the neglect leads to an accident. A cracked or missing knife handle will not allow the user to gain a proper hold, causing a slip that leads to a cut. Replacing a knife handle involves removing the old handle, or what is left of it, and replacing it with a new set of handle slabs. Then, your knife will be safe and ready to use again.
Step 1
Shape and smooth the wooden handle slabs with fine grit sandpaper. Wipe away excess dust with a clean, dry rag.
Video of the Day
Step 2
Sand the metal knife tang with your sandpaper to clean away debris and scuff the metal to prepare it for the epoxy. Wipe away debris with a dry rag.
Step 3
Mix recommended amounts of epoxy resin and hardening agent in a plastic bowl. Stir with a plastic knife.
Step 4
Brush the epoxy onto the knife tang on both sides with your paint brush. Place the wooden slabs in place on the tang of the knife. Paint epoxy onto the male ends of the rivets. Slide the rivets into place through the handle and tang. Place a block of wood on each side of the knife handle and tap each side to lock the rivets in place.
Step 5
Place a C clamp onto the blocks at each end. Allow the epoxy to cure for 24 hours. Remove the clamps and sand away the excess epoxy. Wipe the knife clean with a rag.
Warning
Working with knives is hazardous. Always be aware of where your hands are in relation to the knife blade. Epoxy should only be used outdoors or in a well-ventilated area.
Video of the Day