Things You'll Need
Pictures
Fleece blanket
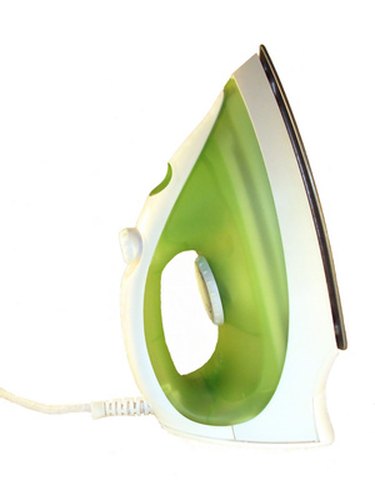
Iron
Laser printer or copy machine
Photo transfer paper

Adding pictures is an inexpensive, easy way to personalize a no-sew fleece blanket. Photo blankets are a great way to commemorate special occasions such as birthdays and graduations. You can even use logos from favorite sports teams or schools.
Step 1
Select pictures you would like to add to your fleece blanket. Choose pictures that are not too dark and without small detailing.
Video of the Day
Step 2
Reverse, or mirror pictures using your computer's photo program or print settings. Doing this will ensure writing and images face correct direction, according to quiltbug.com. If using a copy machine, choose the "flip image" setting.
Step 3
Insert iron transfer paper into printer and print images. Always print in color to pick up all shades and details, even in black and white. If you have a color laser printer, use digital images on your computer. If not, take hard copies of your pictures to your local copy shop. Cut out pictures.
Step 4
Wash fleece blanket. Only iron pictures onto white fleece, as other colors will affect picture quality. Do not use fleece with prints.
Step 5

Place the picture side down on fleece. Using cotton setting with no steam, apply firm pressure for 20 seconds to back of transfer. Peel paper away while still hot, according to softexpressions.com.
Step 6
Wash blankets with ironed on images on delicate cycle and air dry to ensure pictures retain quality and do not peel.
Tip
Use a high-quality, low-pill fleece that will look good after use and several washings.
Warning
Exercise caution when using a hot iron.
Video of the Day