Things You'll Need
Flat surface
Pencil
Tracing paper
Colored tiles
Tile glue
Grout
Trowel
Sponge
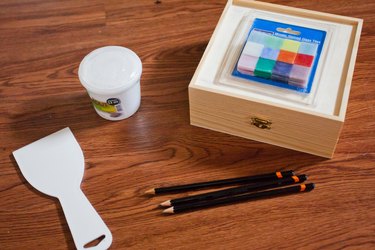
Tile mosaics use small pieces of colored tiles in a pattern to create a design. Mosaics can be applied to flat surfaces such as table tops, wood, stone or concrete. Tiles and grout used to create mosaics can be found at craft stores and home improvement stores. When you are creating your first tile mosaic, start on a small project to get used to the technique before taking on larger projects, such as creating a mosaic on a wall.
Step 1
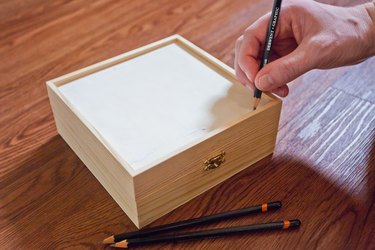
Draw a design freehand on a flat surface using a pencil. You can also trace a pattern onto tracing paper and then trace it onto the surface.
Video of the Day
Step 2
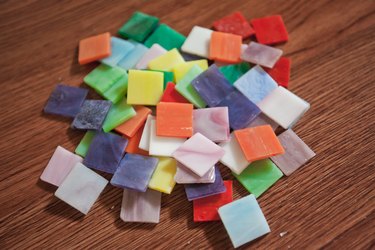
Purchase small tiles from a craft or home improvement store to fit the size of your pattern. If the tiles need to be cut, you can rent or purchase a tile cutter from a home improvement store. Choose a variety of colored tiles to create your design.
Step 3
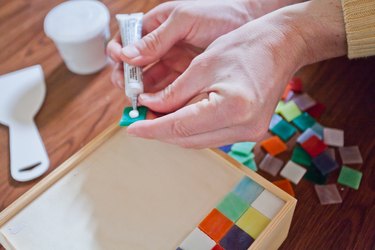
Place the tiles into the pattern using tile adhesive, which can be purchased from craft or home improvement stores. Apply the glue to the tile following the manufacturer's directions and place the tile into the desired pattern.
Step 4
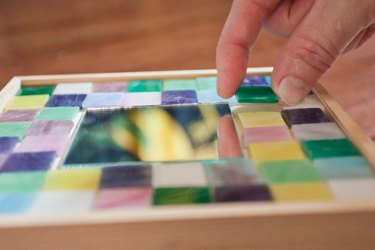
Glue down each tile until the entire pattern on the surface has been filled.
Step 5
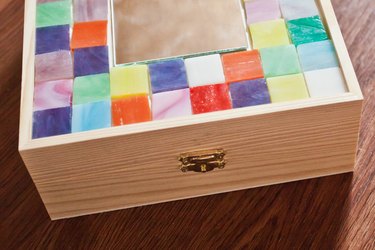
Allow the adhesive to cure according to the manufacturer's directions.
Step 6
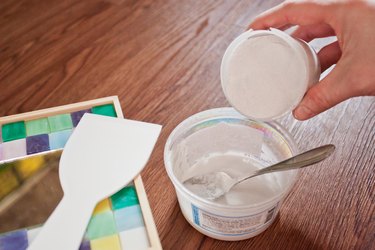
Prepare the grout by following the manufacturer's directions. Spread the grout evenly onto the tiles using a trowel, and work it into the spaces between the tiles. Remove excess grout with the trowel and then wipe the surface with a wet sponge.
Step 7
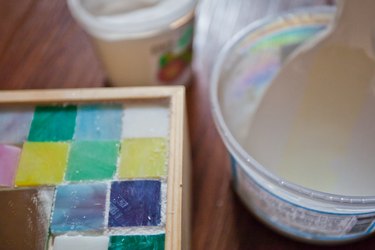
Allow the grout to dry per the manufacturer's directions before placing the mosaic on display.
Warning
Work in a well-ventilated area when cutting tiles or when applying grout. Grout can stain so protect your work area before applying grout.
Video of the Day