Things You'll Need
Paintbrush
Lime putty
Trowel
Drywall mesh tape
Assorted texture tools
Fine grit sandpaper

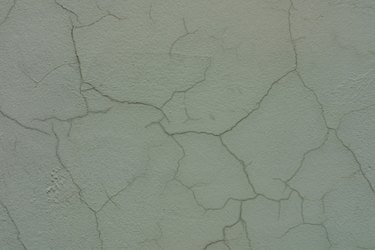
Hairline cracks in plaster can indicate an overall structural problem that should be addressed. However, if the cracks are merely cosmetic, they can be repaired. Unlike modern drywall, plaster is a two-part system: the underlying wood structure, or lath, and the plaster itself. Before attempting to patch cracks, make sure that the plaster is firmly attached to the lath. Then fill any hairline cracks using lime putty, which should approximate the strength of the existing plaster.
Step 1
Remove any small bits of plaster or pieces of plaster that are beginning to crumble. Use a paintbrush to remove any dust around the cracks.
Video of the Day
Step 2
Apply a layer of lime putty with a trowel to any areas missing plaster. The first layer of putty should be slightly concave when compared to the surrounding wall.
Step 3
Apply a layer of drywall mesh tape over the wet putty to provide stability. Add a final layer of putty so that the patch is level with the plaster wall. Texture the wet putty as necessary to match the surrounding wall with a trowel or assorted texture tools.
Step 4
Fill hairline cracks with the lime putty using a trowel. Try to only apply enough putty to fill the crack without bleeding to the outside surface of the wall.
Step 5
Texture the wall using the trowel or other assorted texture tools to match the existing plaster. If the wall texture is perfectly flat, allow the entire surface to dry. Then sand with fine grit sandpaper to remove any imperfections.
Tip
Traditional plaster walls were often textured using scrub brushes, rags, brooms, and other common household items. Examine your own wall for the best tools to use.
Warning
Cracks that appear soon after a wall is repaired can indicate a structural issue. Call an engineer or building inspector to look for possible problems before attempting another repair.
Video of the Day