Things You'll Need
NEC
Wiring permit
AWG 6/3 w/Gr. Type UF cable
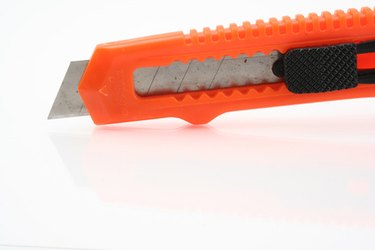
Razor knife
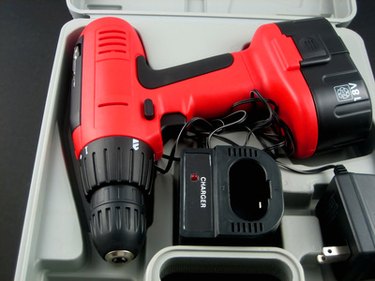
3/8-inch drill/driver
Spade bits
Cable straps
Hammer
Two cable connectors
Wire nuts
Black, plastic electrical tape
50-amp, 240-volt, two-pole, GFCI circuit breaker
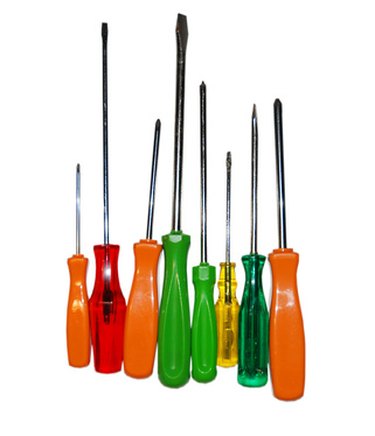
Screwdrivers
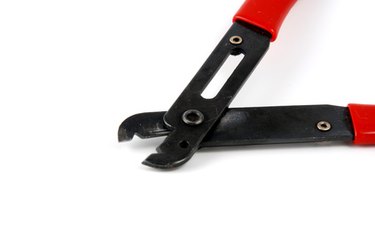
Wire cutters
Wire strippers
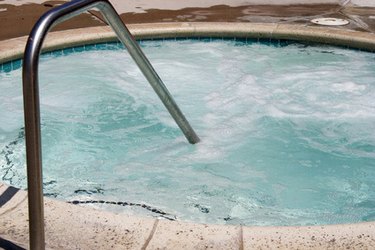
Wiring a 50-amp, 240-volt, two-pole GFCI breaker for a spa, whirlpool or hot tub, isn't difficult. It does require an understanding of the National Electrical Code (NEC) and the local electrical codes covering the wiring of spas. You need to inquire about any local regulations that supersede the minimum requirements set by the NEC when you apply for your wiring permit. Your city's Authority Having Jurisdiction (AHJ), usually your Building Permits Department, will supply you with a copy of the local electric codes upon request. Don't start this or any other wiring project until you have a wiring permit and have posted it on the premises as required by law.
Step 1
Lay out your proposed installation on graph paper. Present this drawing along with a detailed material list to the AHJ when applying for your wiring permit. Wait for the permit to arrive and then post it as instructed.
Video of the Day
Step 2
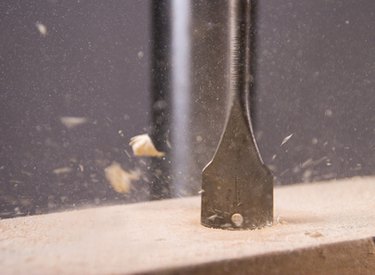
Route the cable from the service panel to the spa's electrical connection box. You may run the cable along the sides of floor joist and studs or perpendicular to them through holes drilled through them. Drill all holes so that the near edges of the holes are at least 1 1/4-inches back from the nearest edge of the framing member. Likewise, when running the cable along the sides of framing members, position it so that it's at least 1 1/4-inches back from the nearest edge. Support the cable run along the sides of framing members at intervals not exceeding 48 inches. These are all Code requirements.
Step 3
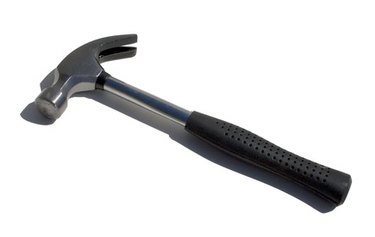
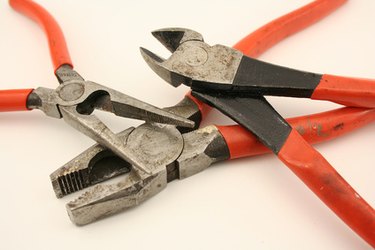
Turn off the main service breaker and remove the cover to the breaker panel. Remove a knockout from the side of the panel by driving it sideways with the hammer and a screwdriver and then wiggling it back and forth with the Lineman's pliers until it snaps free. Install a cable connector in the hole.
Step 4
Install the new circuit breaker in the panel. Depending on the type of panel that you are working on, this breaker may simply snap into place or it may be secured to the Buss Bars with screws. Uncoil the white pigtail wire coming out of the breaker and attach it to the panel's neutral bar. The neutral bar may be located to the side or at the bottom of the panel.
Step 5
Slip the cable through the cable connector and secure it in place by tightening the clamping screws. Remove the outer jacket from the cable with the razor knife. Attach the red and black wires to the brass-colored screws on the GFCI breaker. Shorten these wires as needed and remove 3/4 inches of insulation from their ends before attaching them.
Step 6
Attach the white circuit wire to the silver screw on the GFCI breaker. Attach the bare grounding wire to the panel's grounding bar. This bar has green-colored screws or a bare system grounding wire attached to it.
Step 7
Secure the GFCI breaker in the off position. Turn on the main breaker.
Step 8
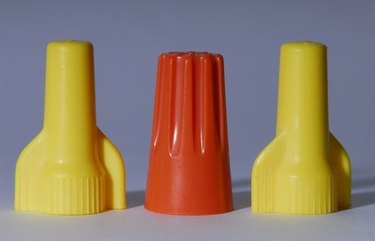
Install the cable in the spa's connection box just as you installed it in the breaker panel box. Splice the red, black and white wires to their matching spa wires. To make the splices, hold the stripped ends side by side so the ends of the wires are even. Twist the wires tightly together in a right-hand twist with the Lineman's pliers. Complete the splices by screwing on wire nuts. Attach the bare ground wire to the spa's grounding lug.
Step 9

Call the AHJ for the required inspection. After the inspection is completed, close up the spa's connection box and replace the service panel cover. Turn on the GFCI breaker.
Video of the Day