Things You'll Need
Liquid dishwashing soap
Sponge
Baking soda
Color-safe diluted bleach
Towel
Toothpick
Cloth
Vanilla extract

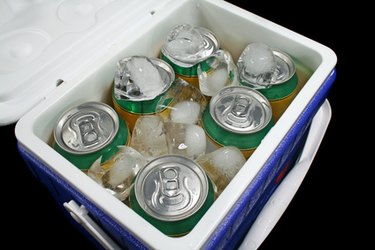
If standing next to your hard surfaced ice chest makes you cringe due to the bad odor, you will need to clean it thoroughly with common household items. Ice chests allow you to keep food and beverages cold for an extended period, but they can often begin smelling bad due to old food and dirty water. Regularly cleaning the ice chest will prevent the odors from returning, and it will prolong its use.
Step 1
Rinse the ice chest out with warm water and liquid dishwashing soap. Use a sponge to remove dirt and debris, and rinse out all the small crevices in the ice chest as well as the lid. Do not dry the cooler after you rinse it off.
Video of the Day
Step 2
Sprinkle baking soda over the inside of the cooler. Use a toothbrush to rub the baking soda into the small crevices. Allow the baking soda to dry for 10 to 15 minutes.
Step 3
Rinse the cooler again. Remove all traces of the baking soda and completely dry the cooler.
Step 4
Wipe the interior of the ice chest with diluted bleach if odors remain. Dilute one capful of chlorine bleach with one gallon of water. Rinse the solution off with warm water to remove all traces of bleach.
Step 5
Dry the cooler off with a clean towel. Use a toothpick covered with a towel to wick out and absorb the moisture in the small crevices.
Step 6
Mask the odor in the ice chest if it is still noticeable after cleaning. Soak a clean cloth with vanilla extract, and place it in the ice chest. Allow it to set overnight, and remove the cloth the next day.
Tip
To prevent odors and mildew, be sure the interior is thoroughly dry before storing the cooler in a cool dry place.
Video of the Day